Before you begin...
We recommend purchasing an electric inflator to make inflating your balloons quick and easy!
Click the button below to check out our recommended inflators.
Just a heads-up, y’all — the link is an Amazon affiliate link. If you decide to purchase through it, we may earn a small commission at no extra cost to you. Thanks for supporting Sculpted Air!


Step 1
Open Package and Organize
It’s Inflate Time!
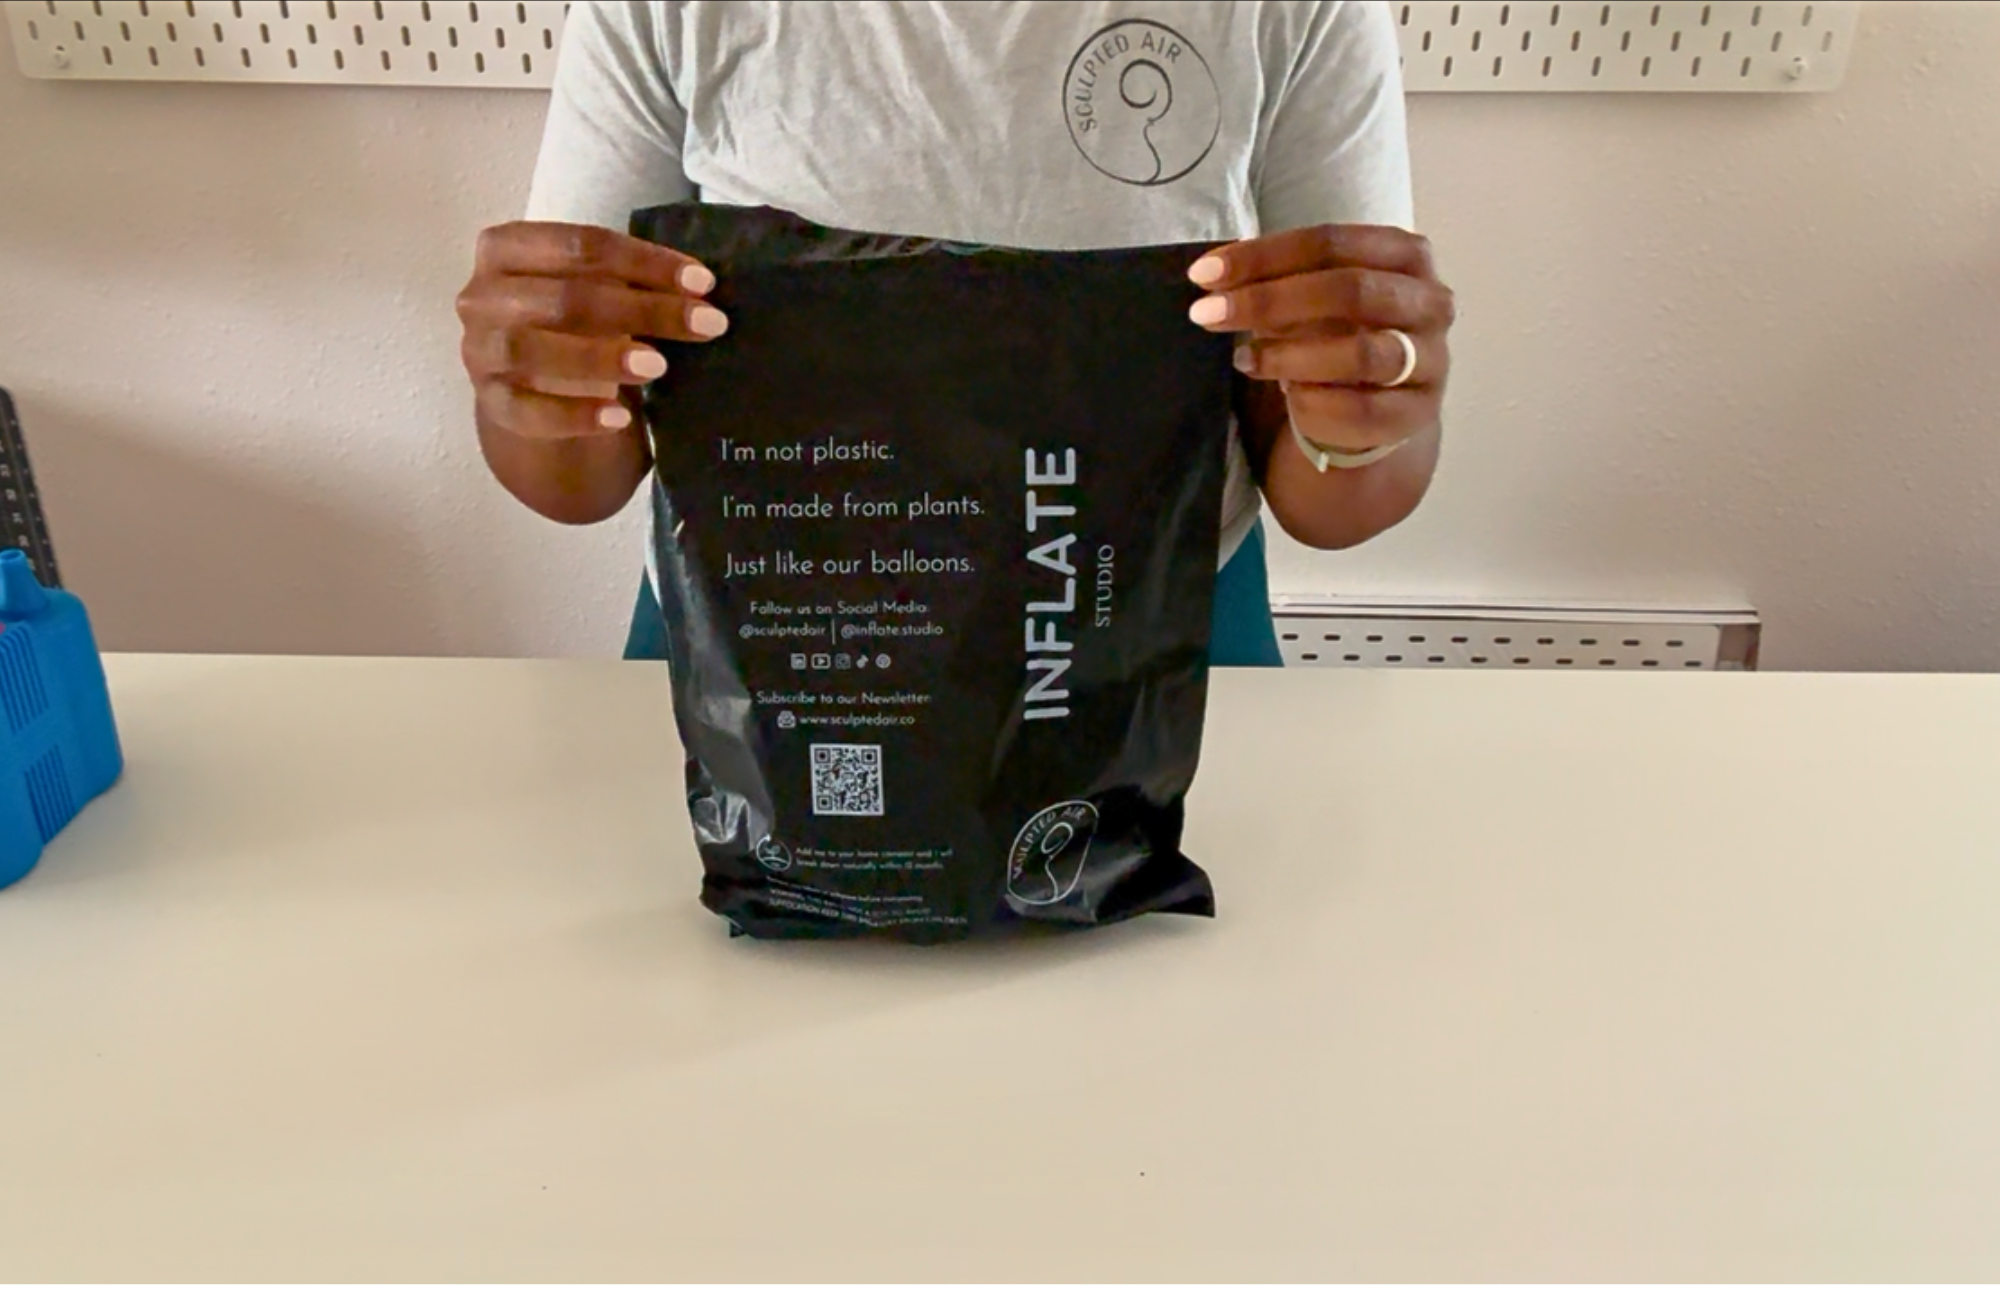
Tear open the Inflate kit bag — your party magic (oops, we meant balloon artistry) starts right here.
Sustainably packed and ready to pop… off the charts!

Unzip the Goods
Open your pouch and peek inside! You’ll find all the tools and balloons curated to match your color palette. No last-minute party store runs here!
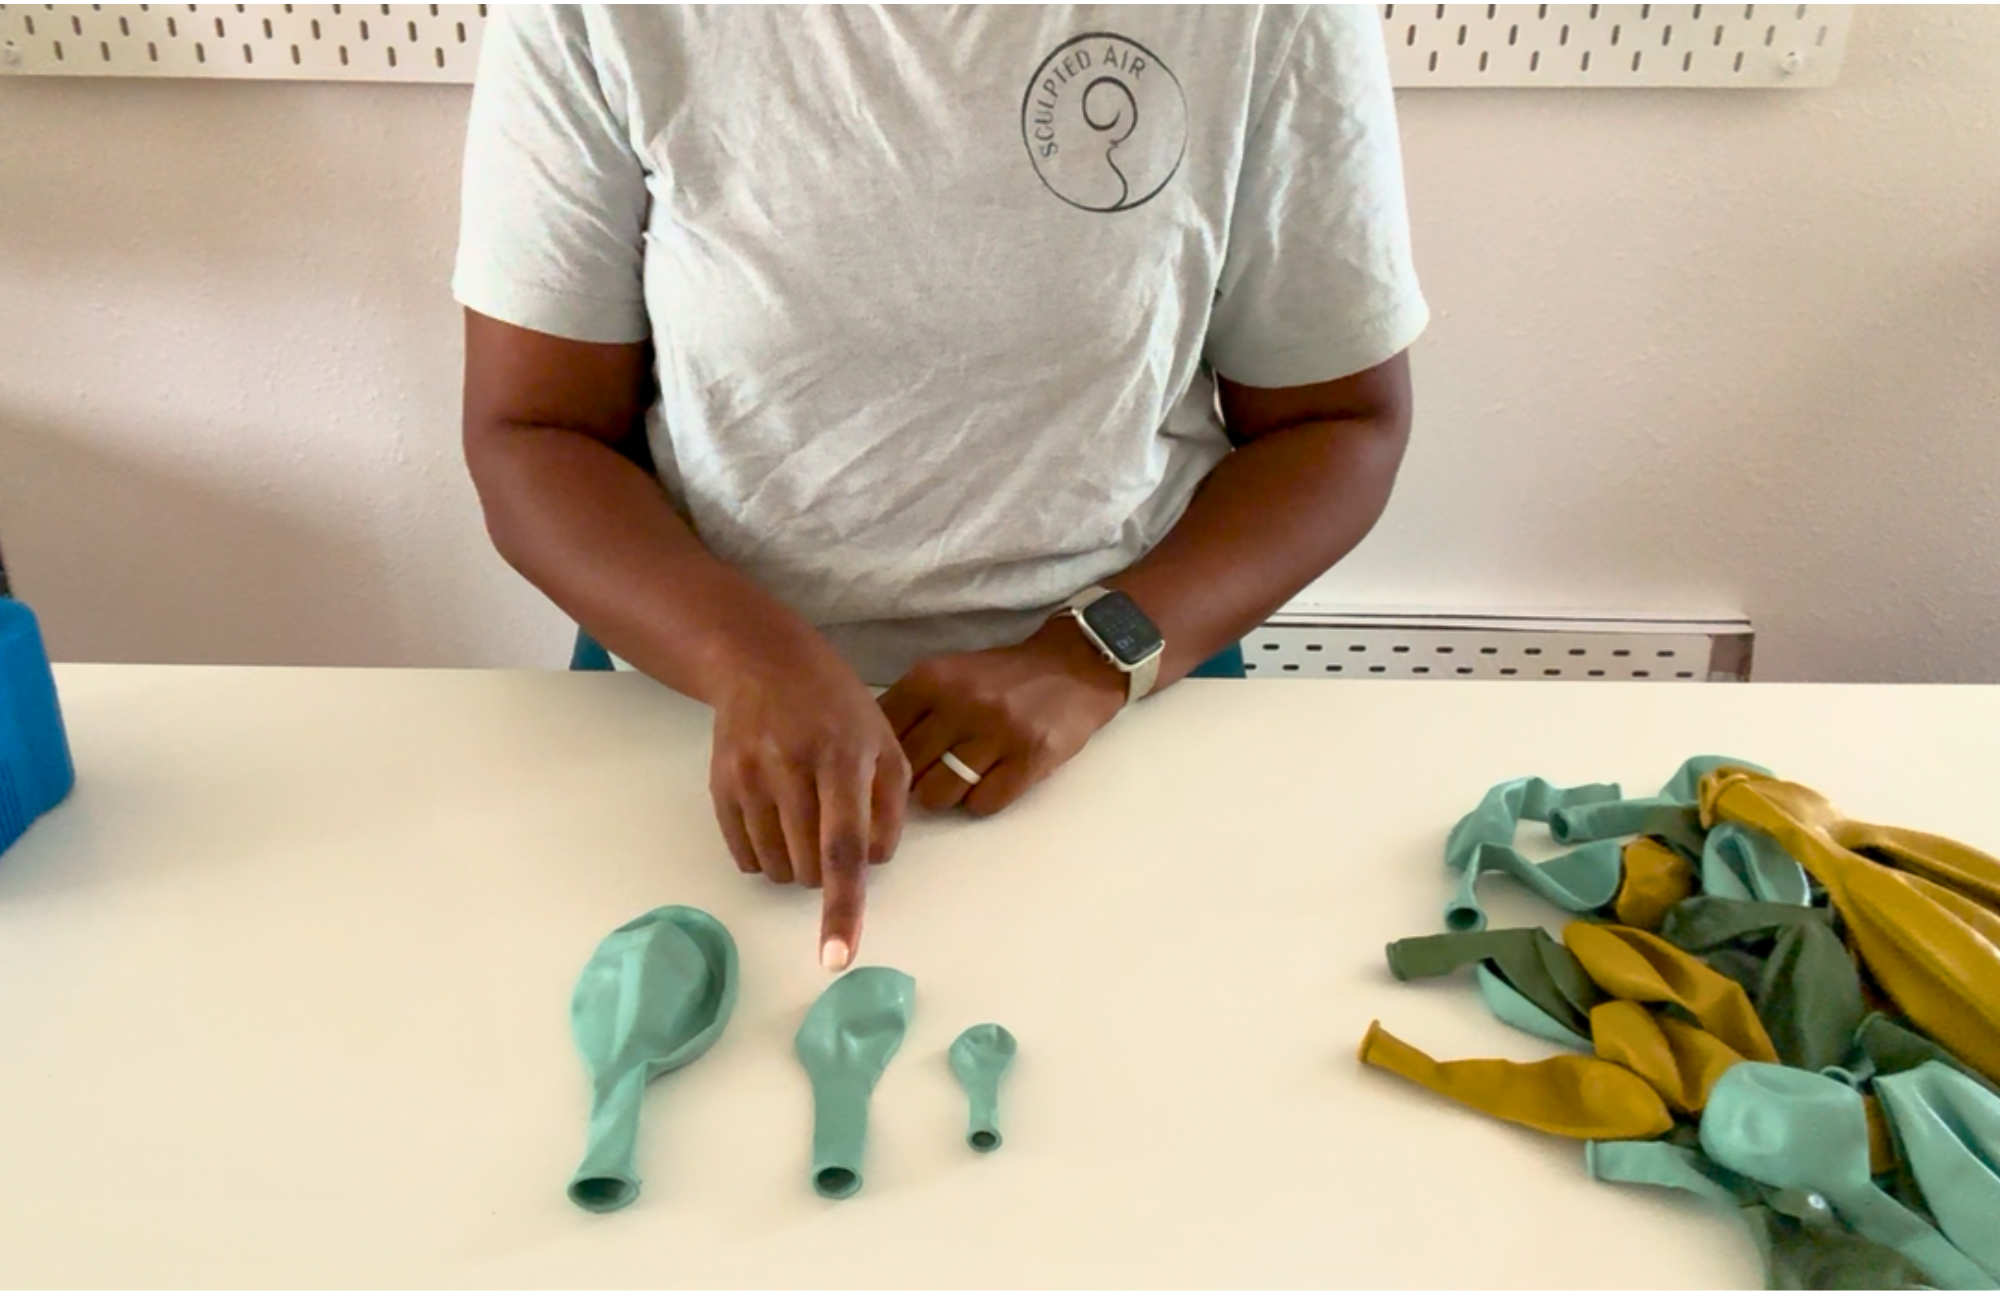
Know Your Sizes
Lay out your balloons and match them to the handy guide inside your kit. Different sizes = that organic, lush look we all love.
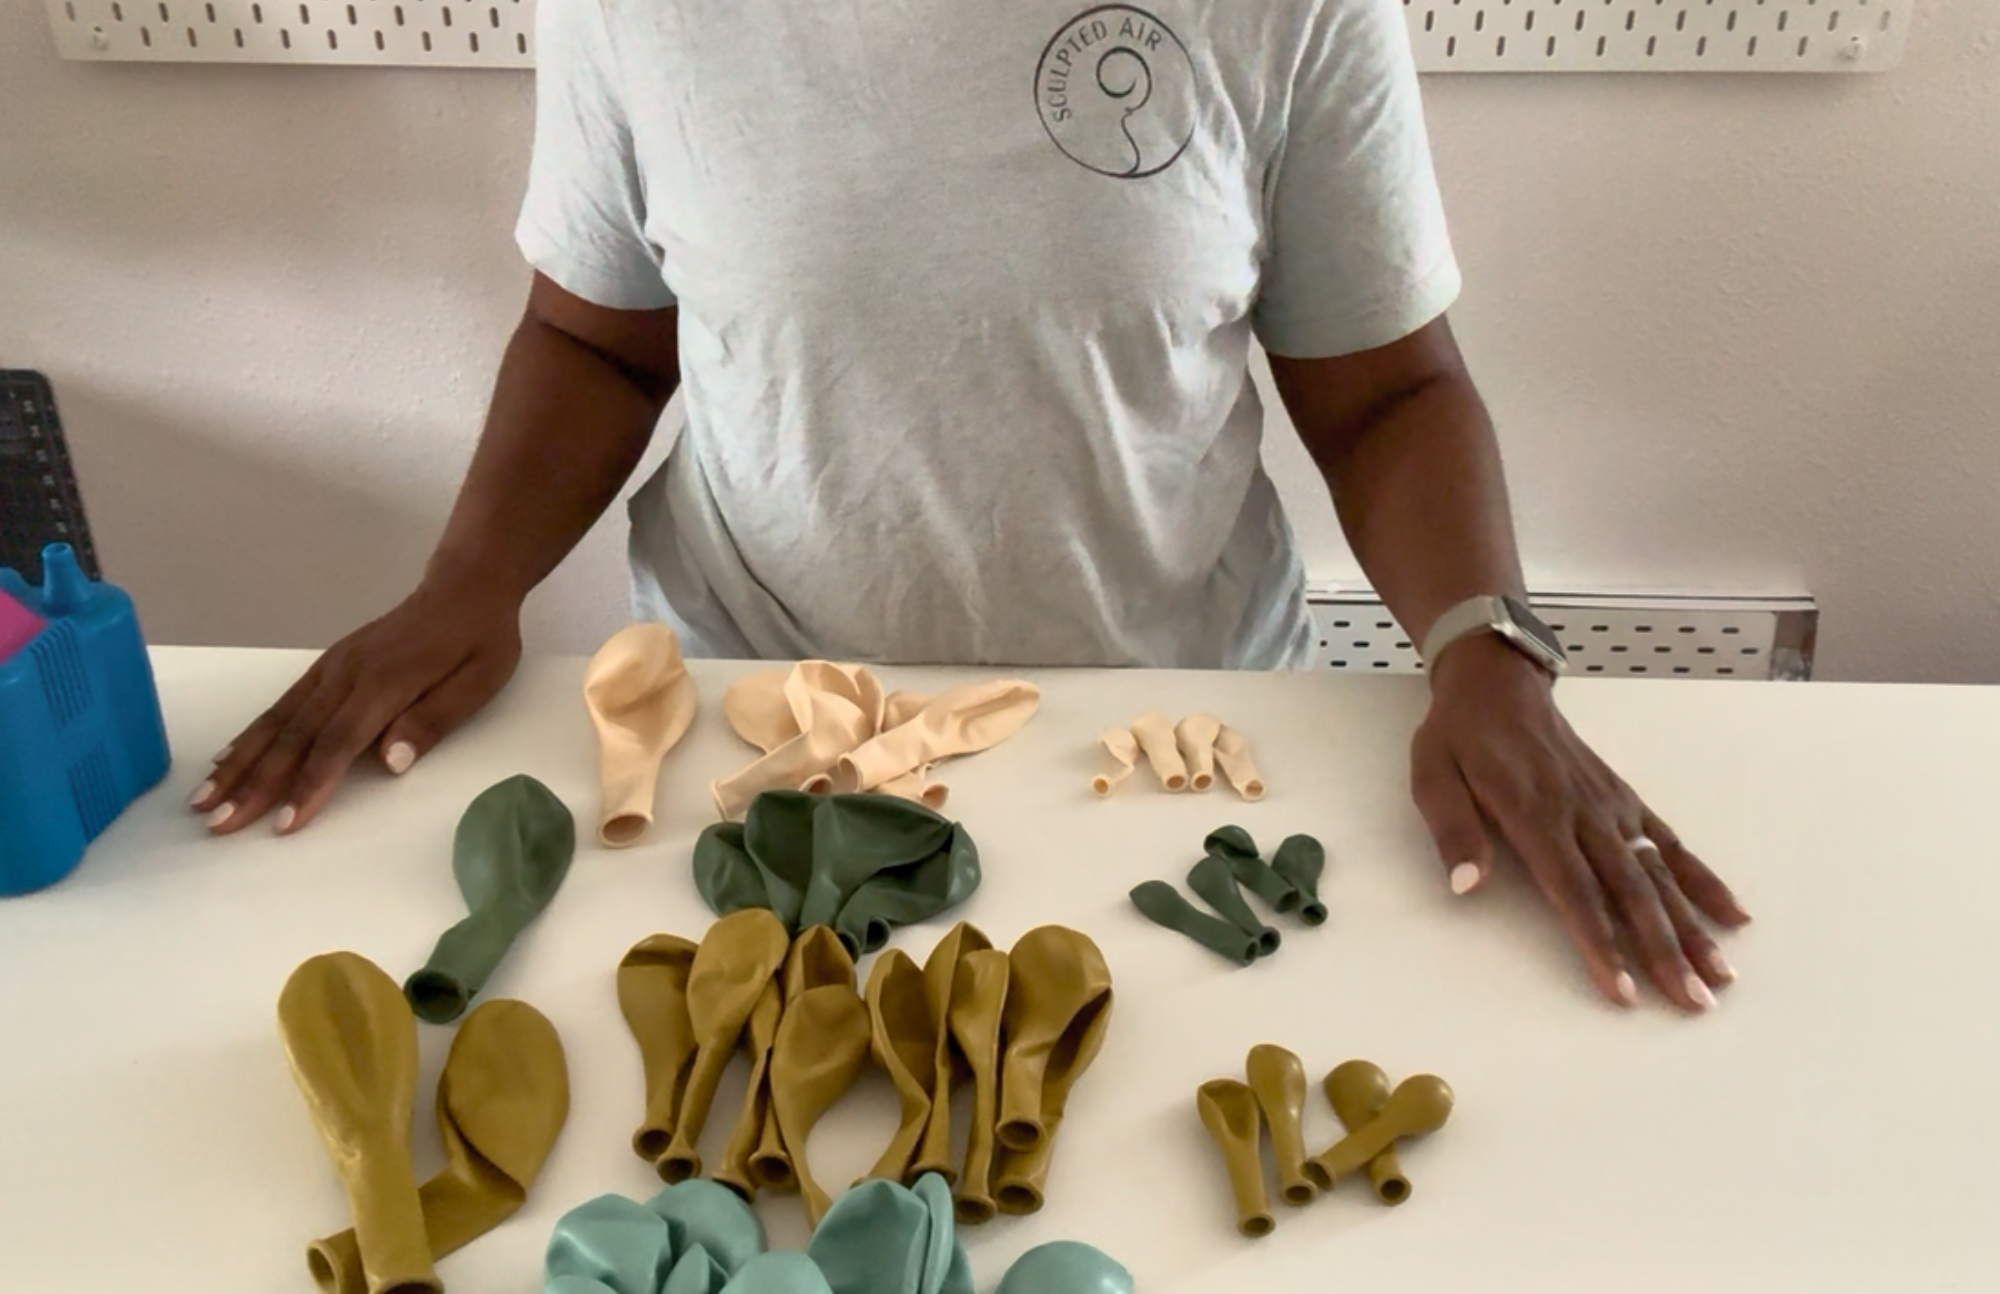
Sort by Size and Color
Separate your balloons into groups by size and shade. Think of this as your balloon mise en place. Organization now = smooth styling later.
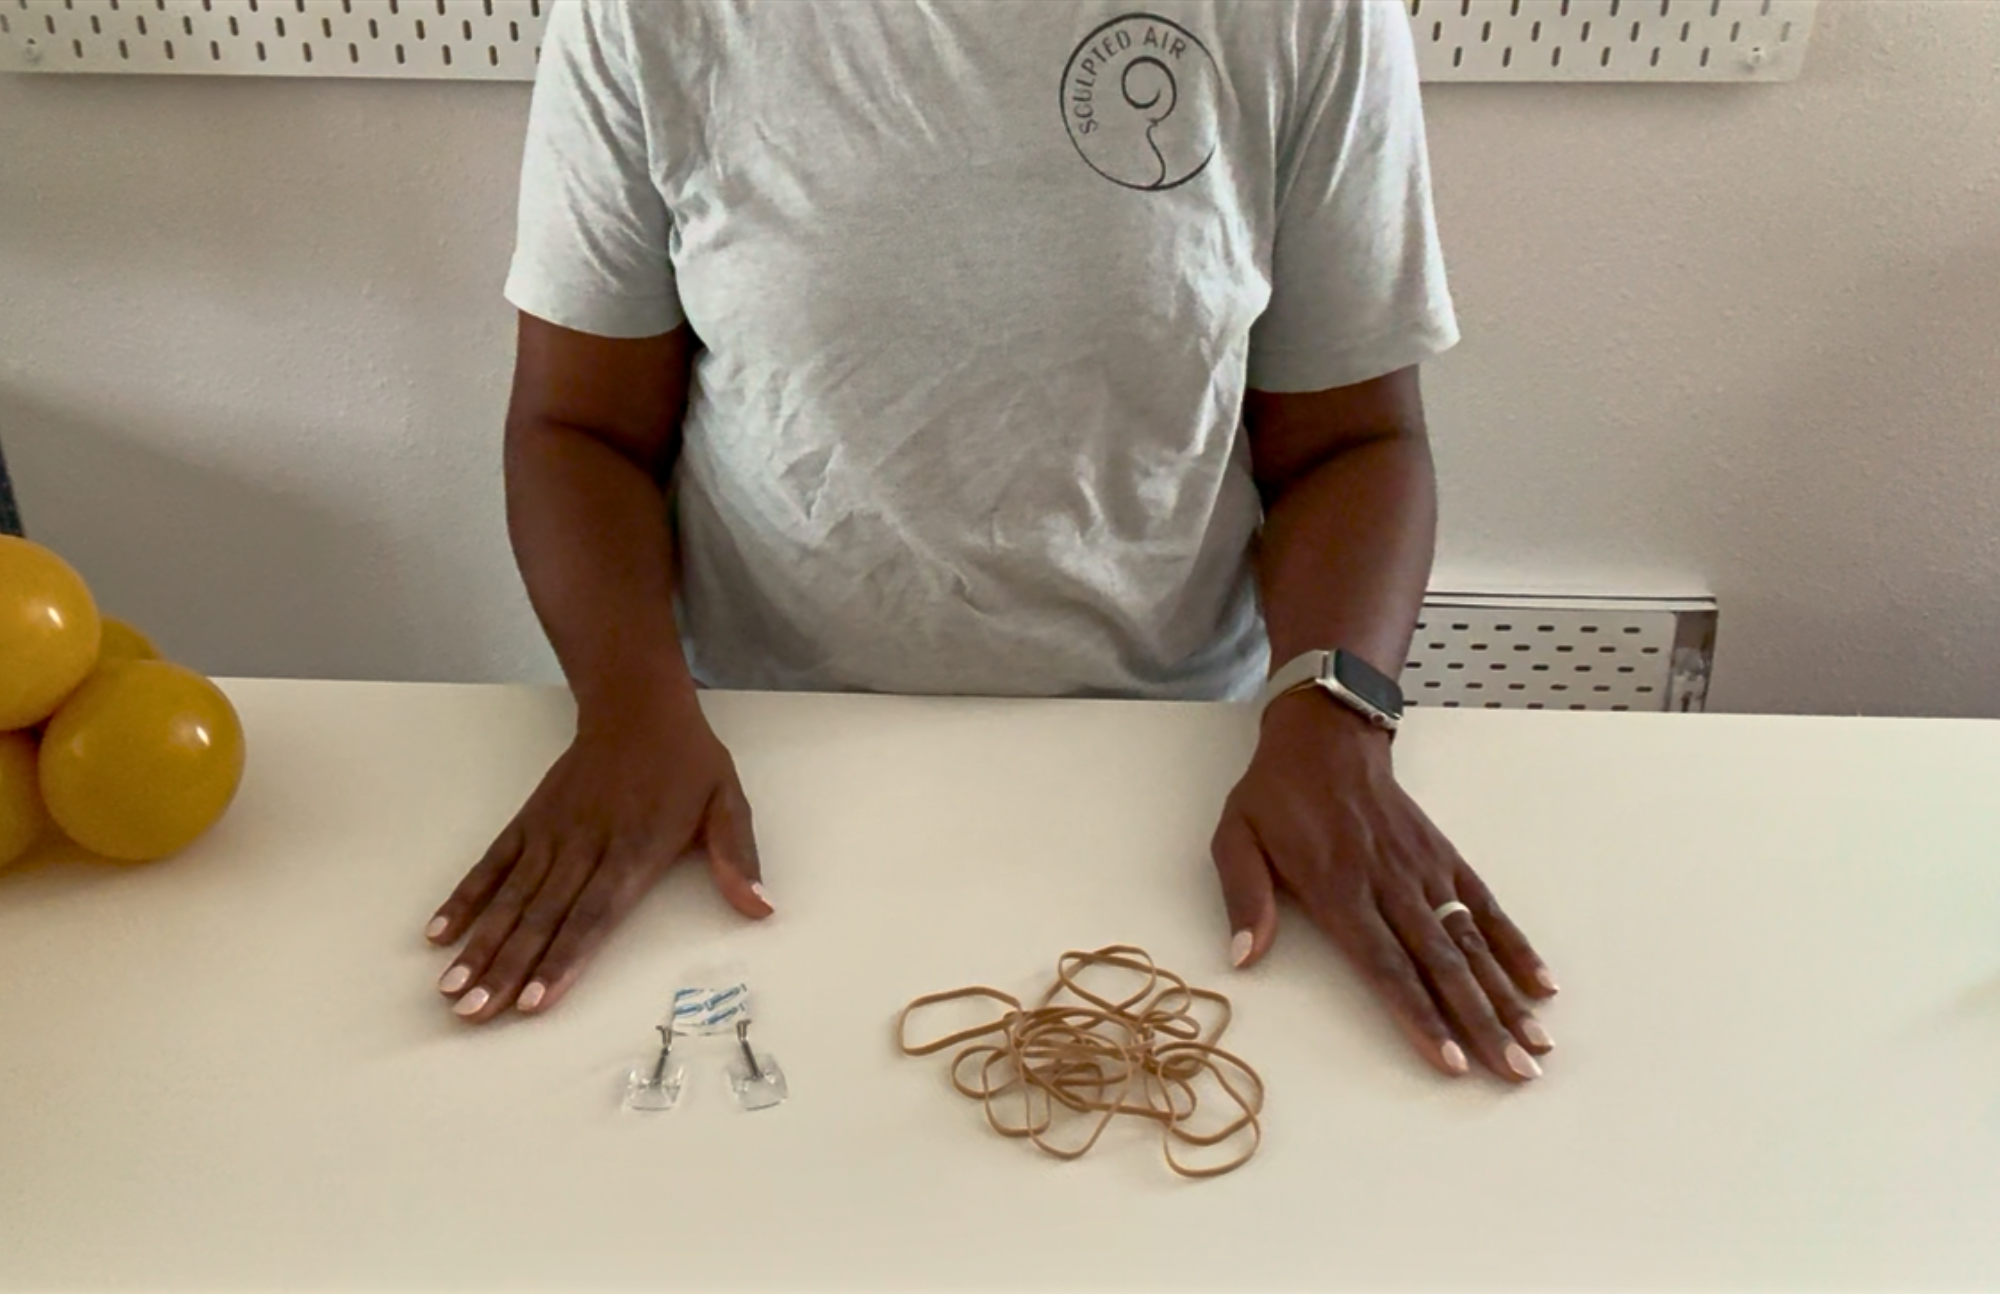
Tools of the Trade
Here’s your toolkit: rubber bands and command hooks. Don’t worry, we’ll show you exactly how to use each piece.
Step 2
Inflate and Shape
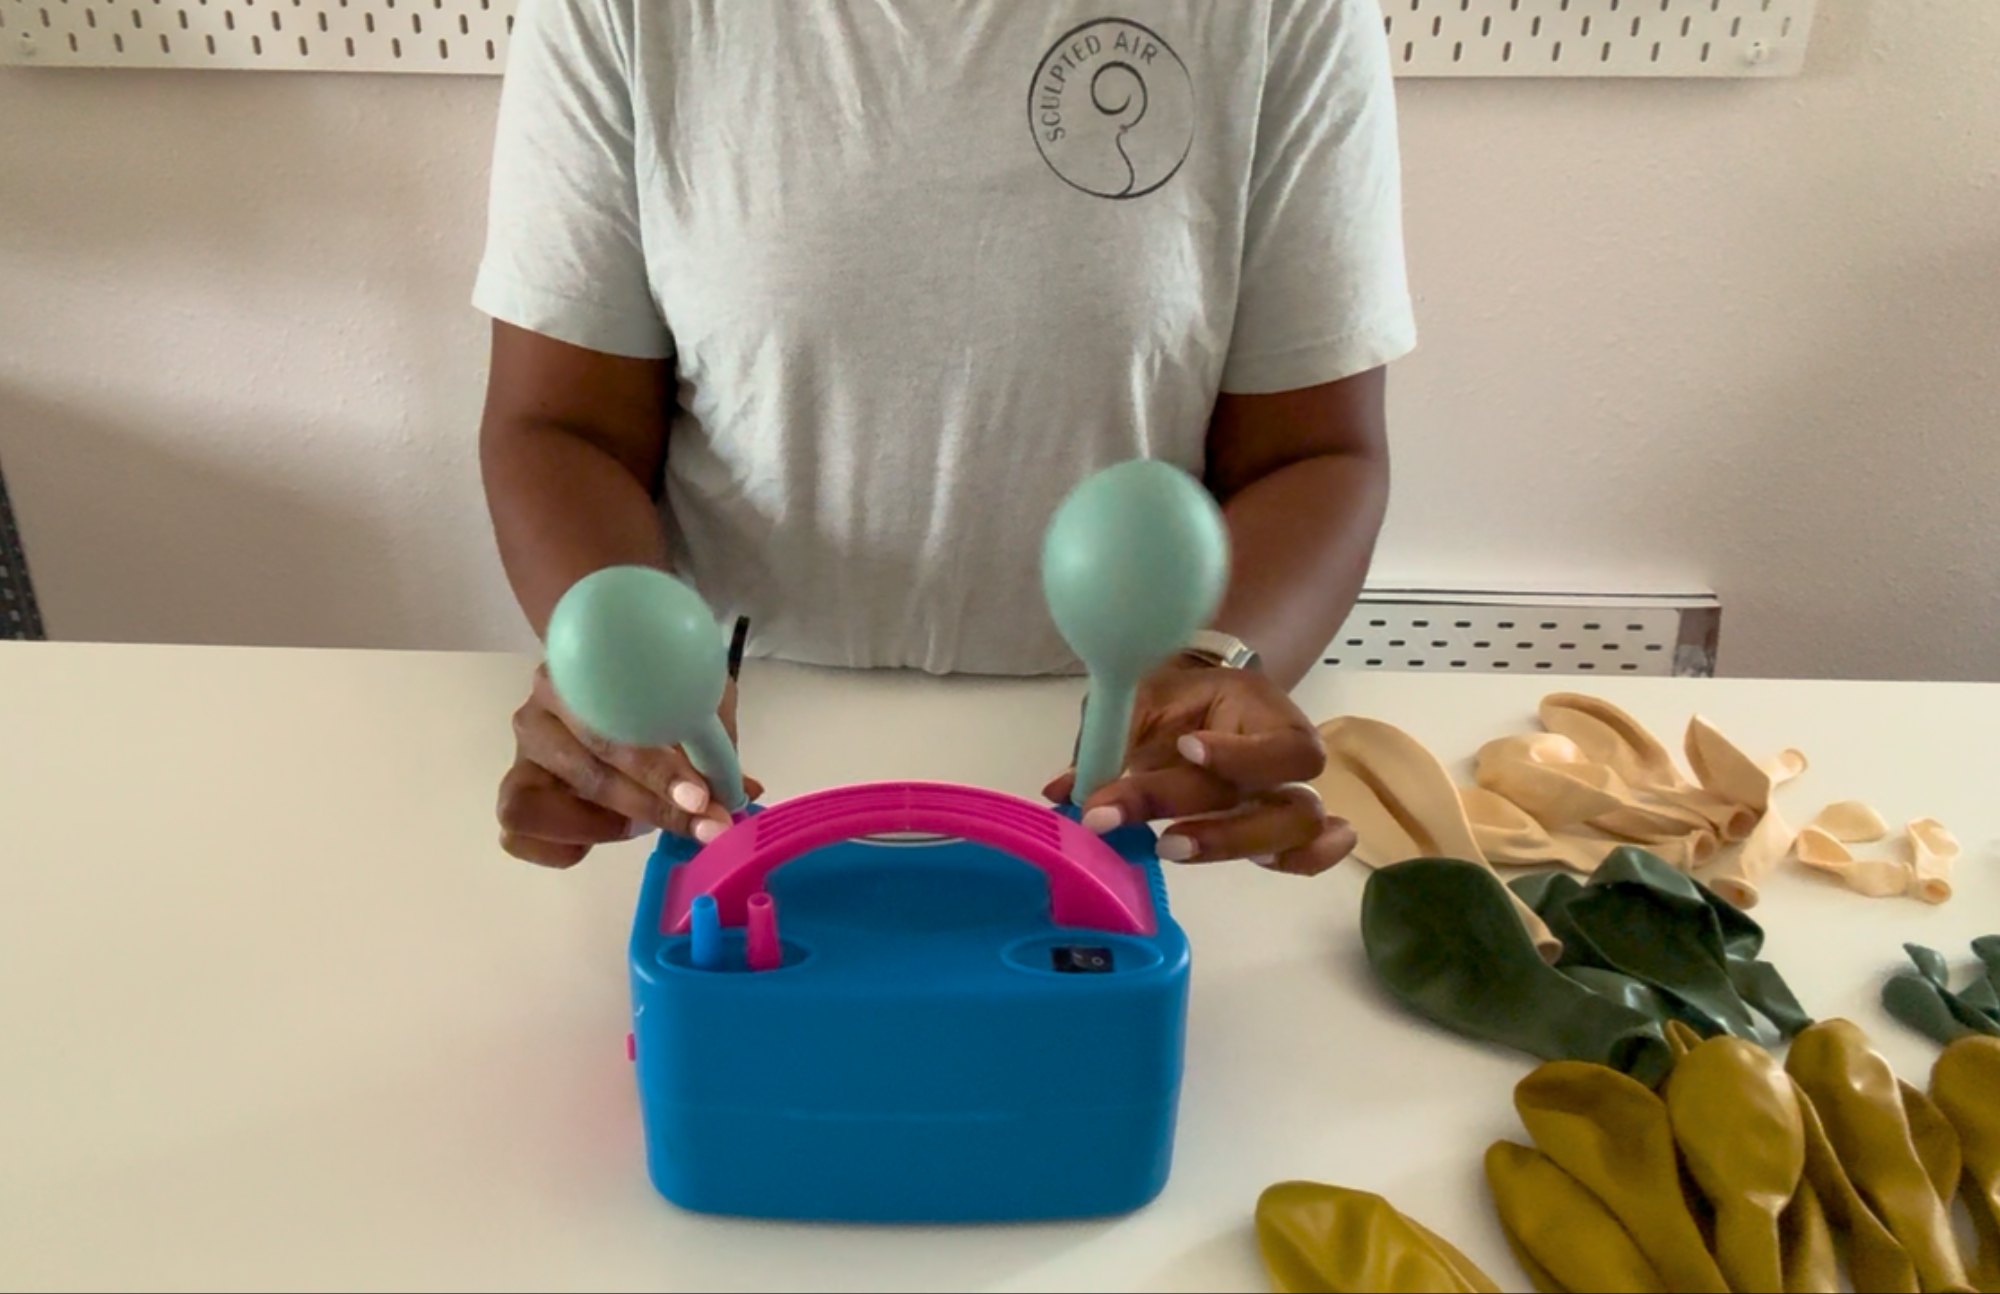
Inflate Like a Pro
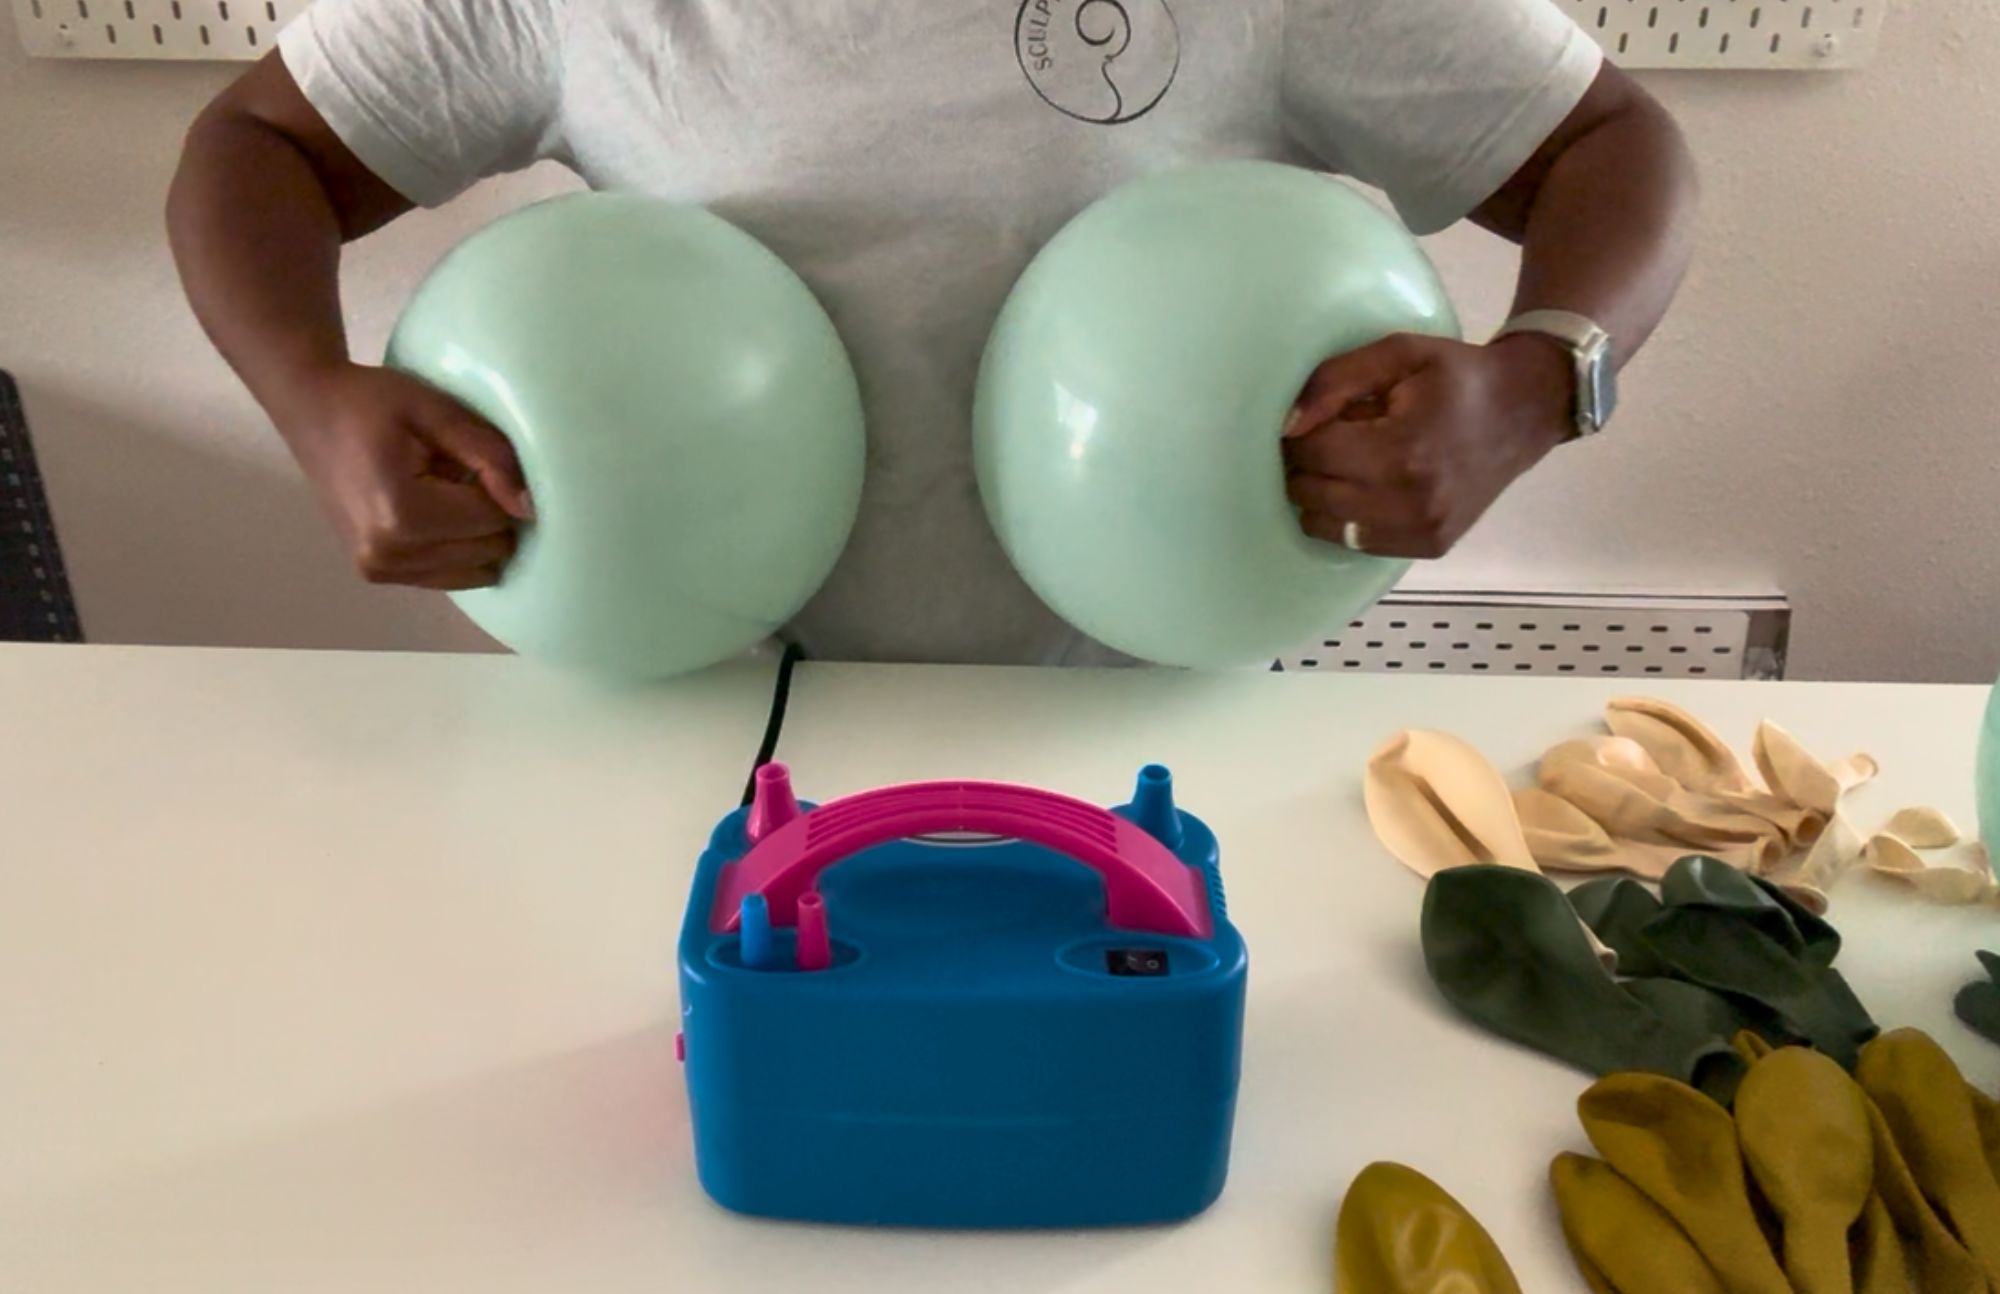
Use your electric pump to blow up two balloons at a time. Start small and work your way up. Trust us—this saves time and wrist cramps!
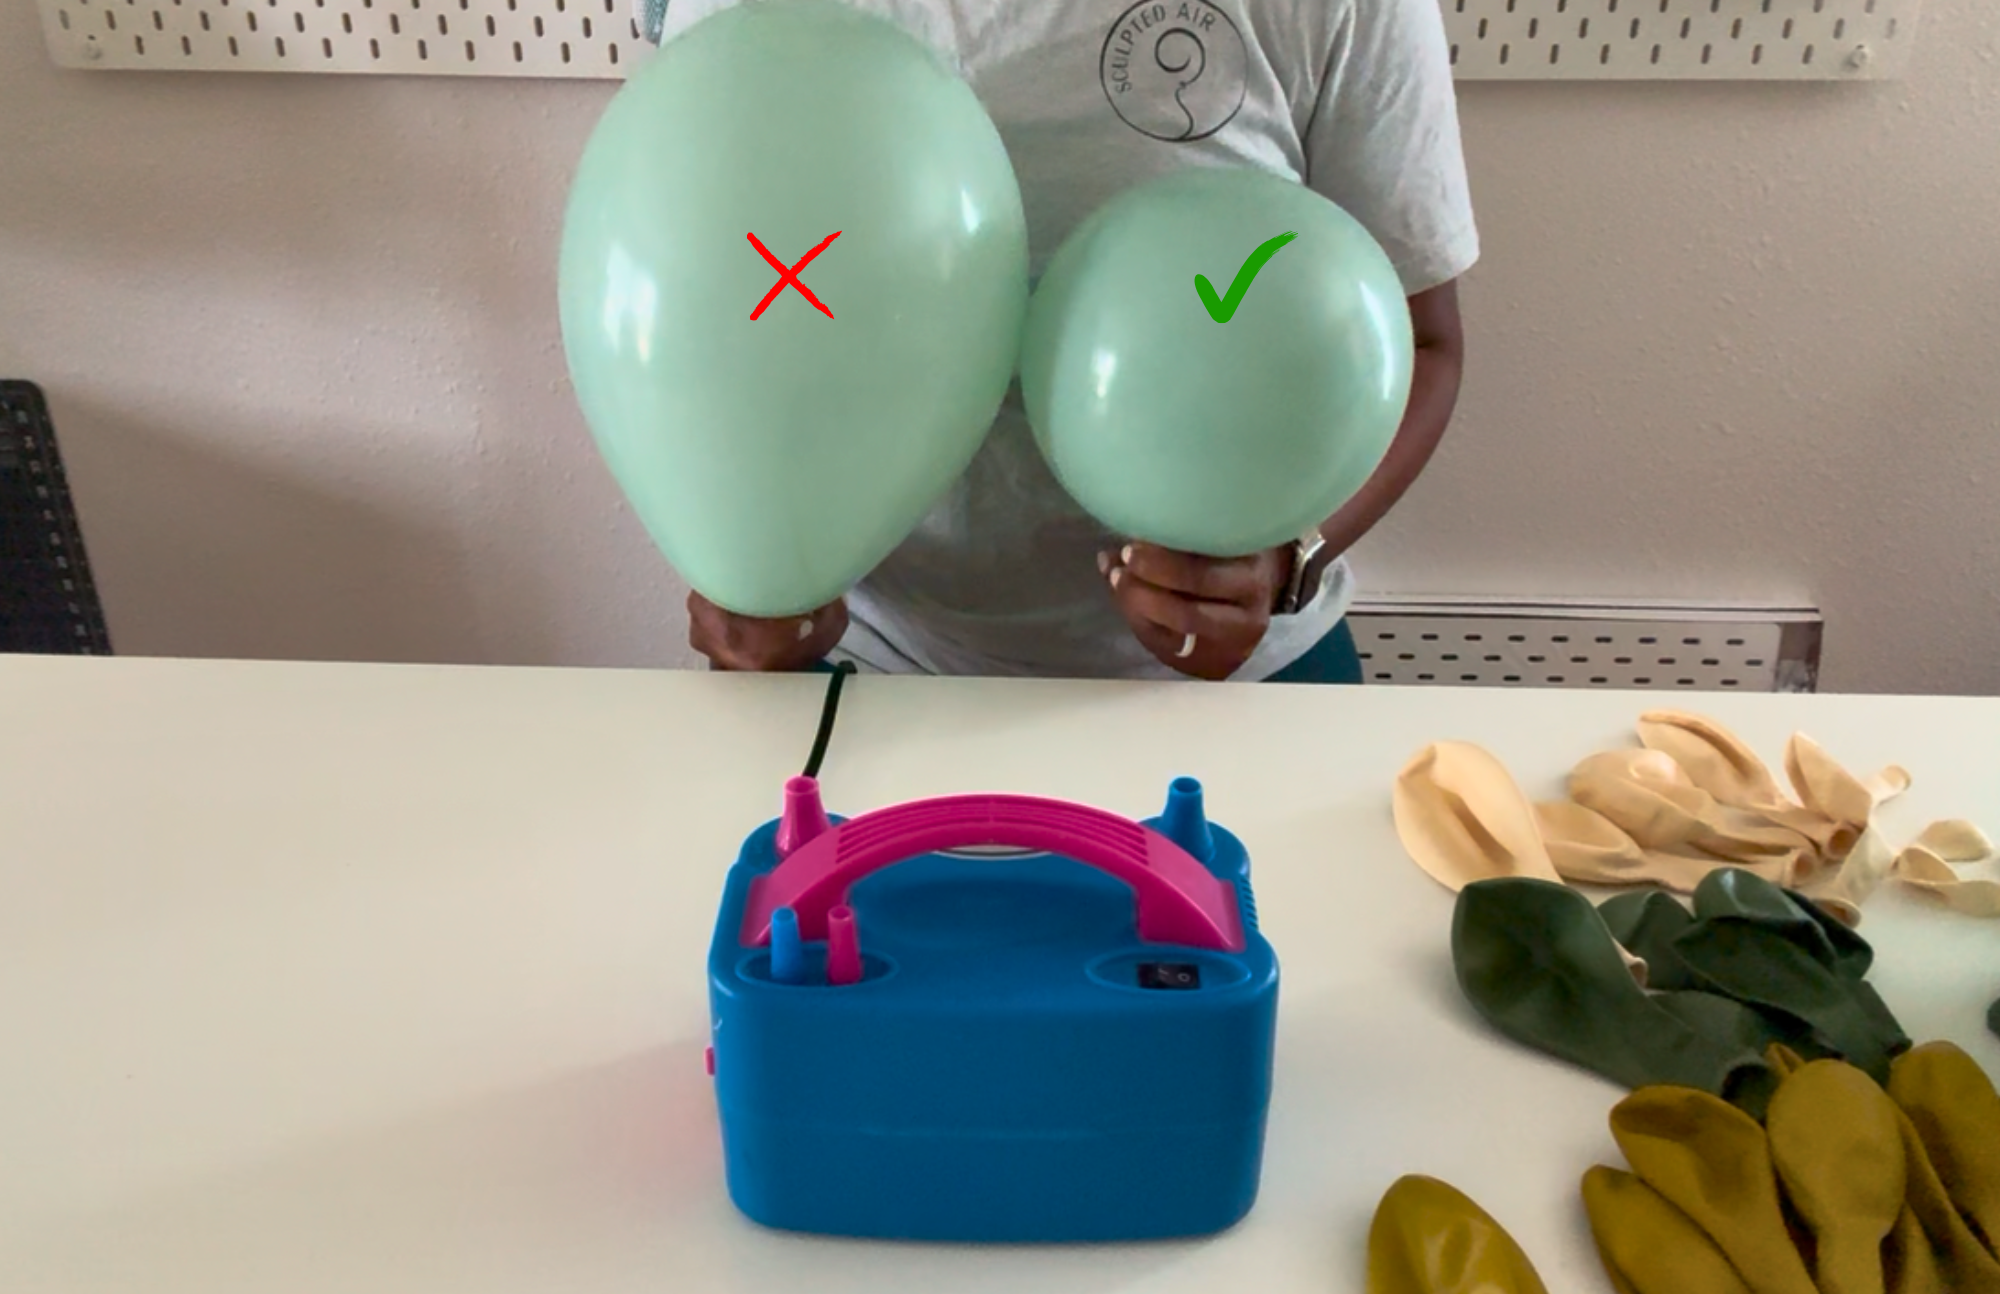
Shape Matters
Aim for that perfect round balloon—not the teardrop!
A quick trick: Press gently with your hand while inflating to help get that ideal shape.
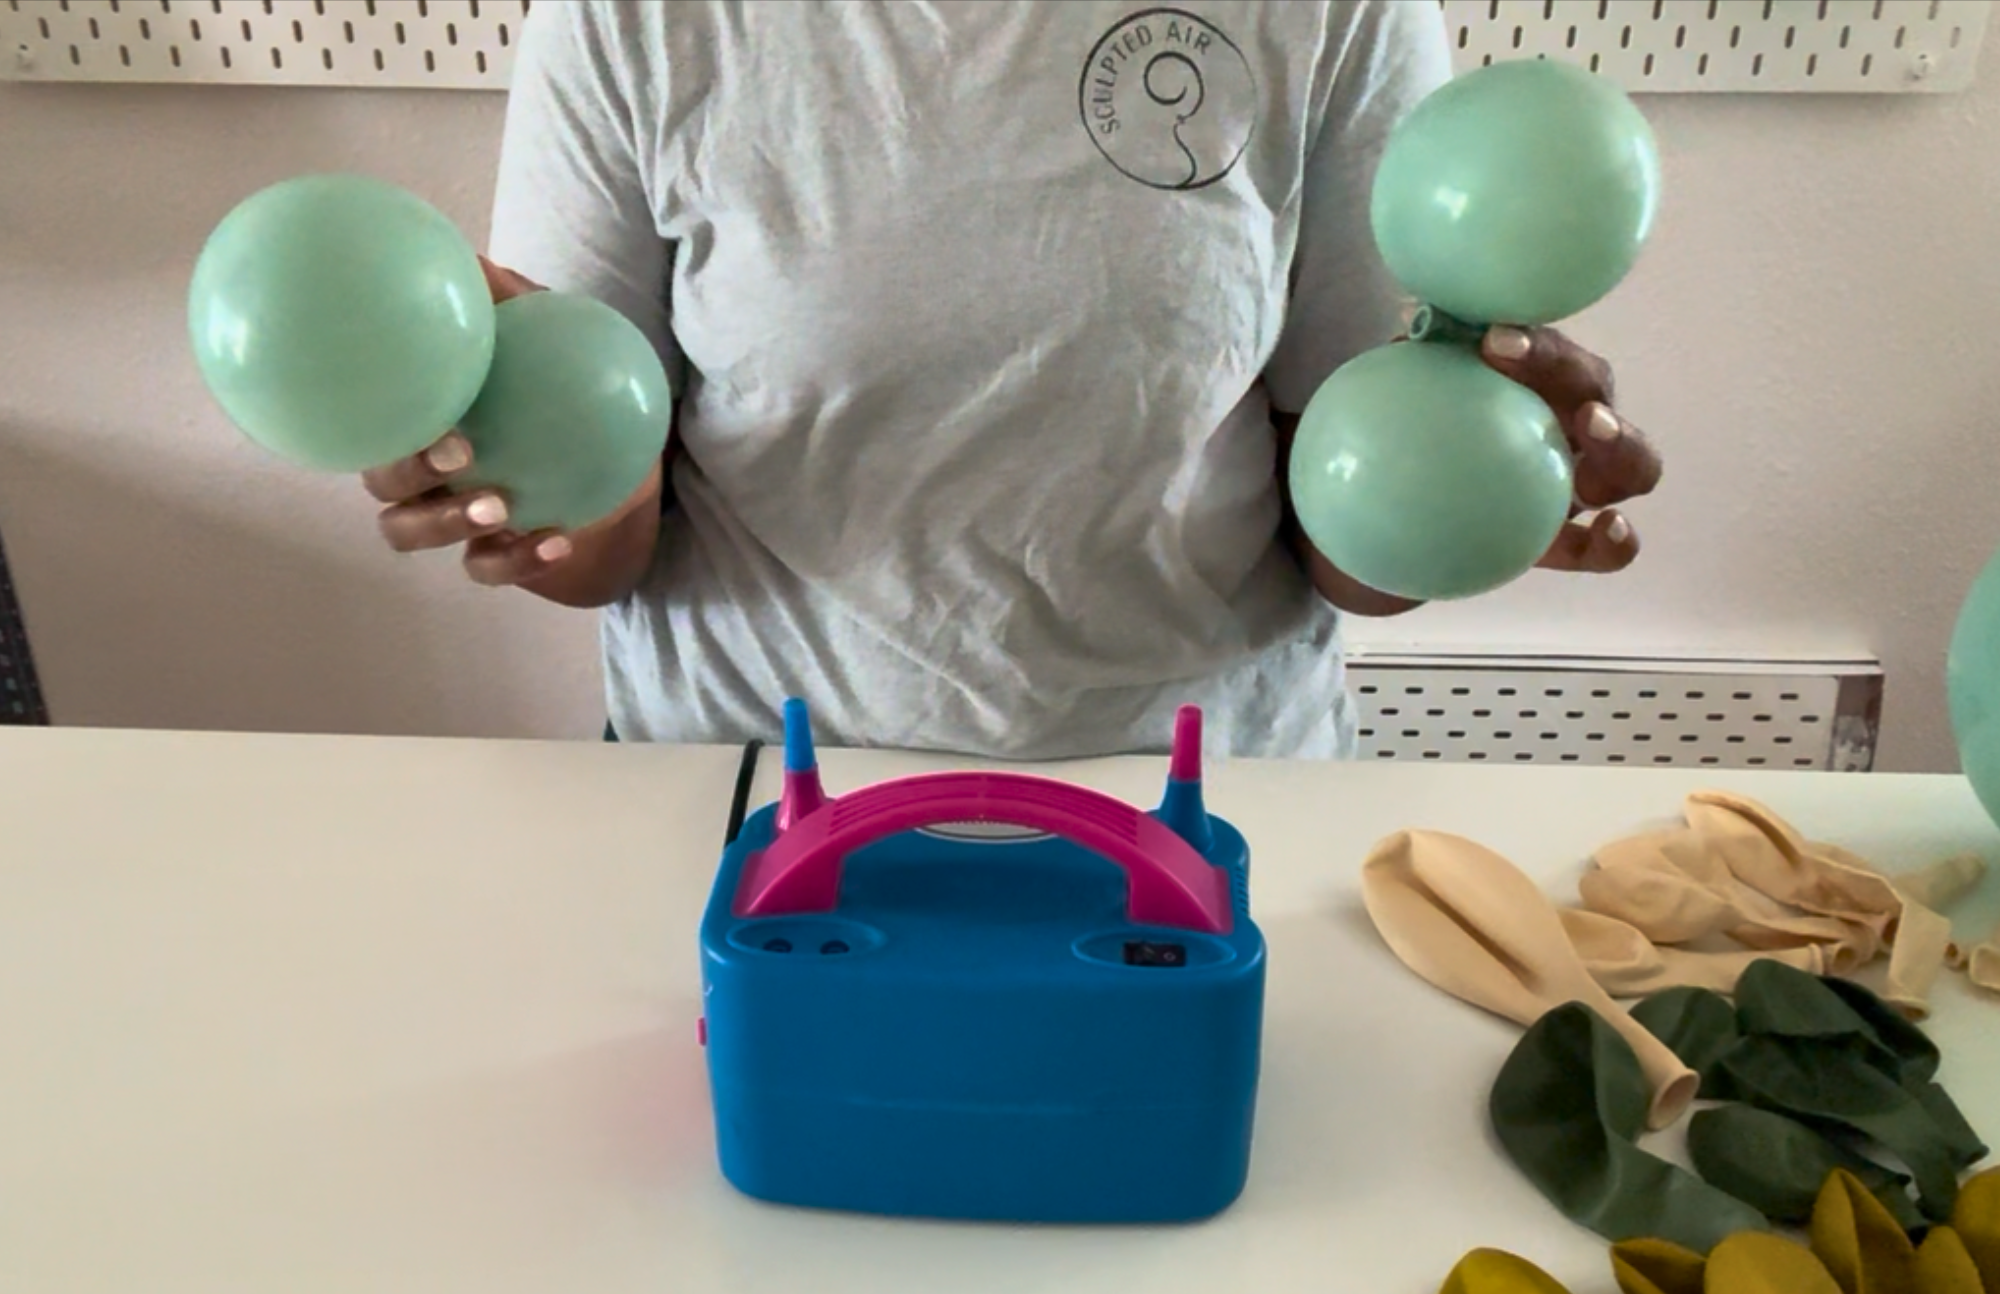
Pair 'Em Up
Once inflated, tie balloons into pairs (called duplets). These little balloon besties are the building blocks for your garland magic.
Step 3
Tie Your Mini Balloons
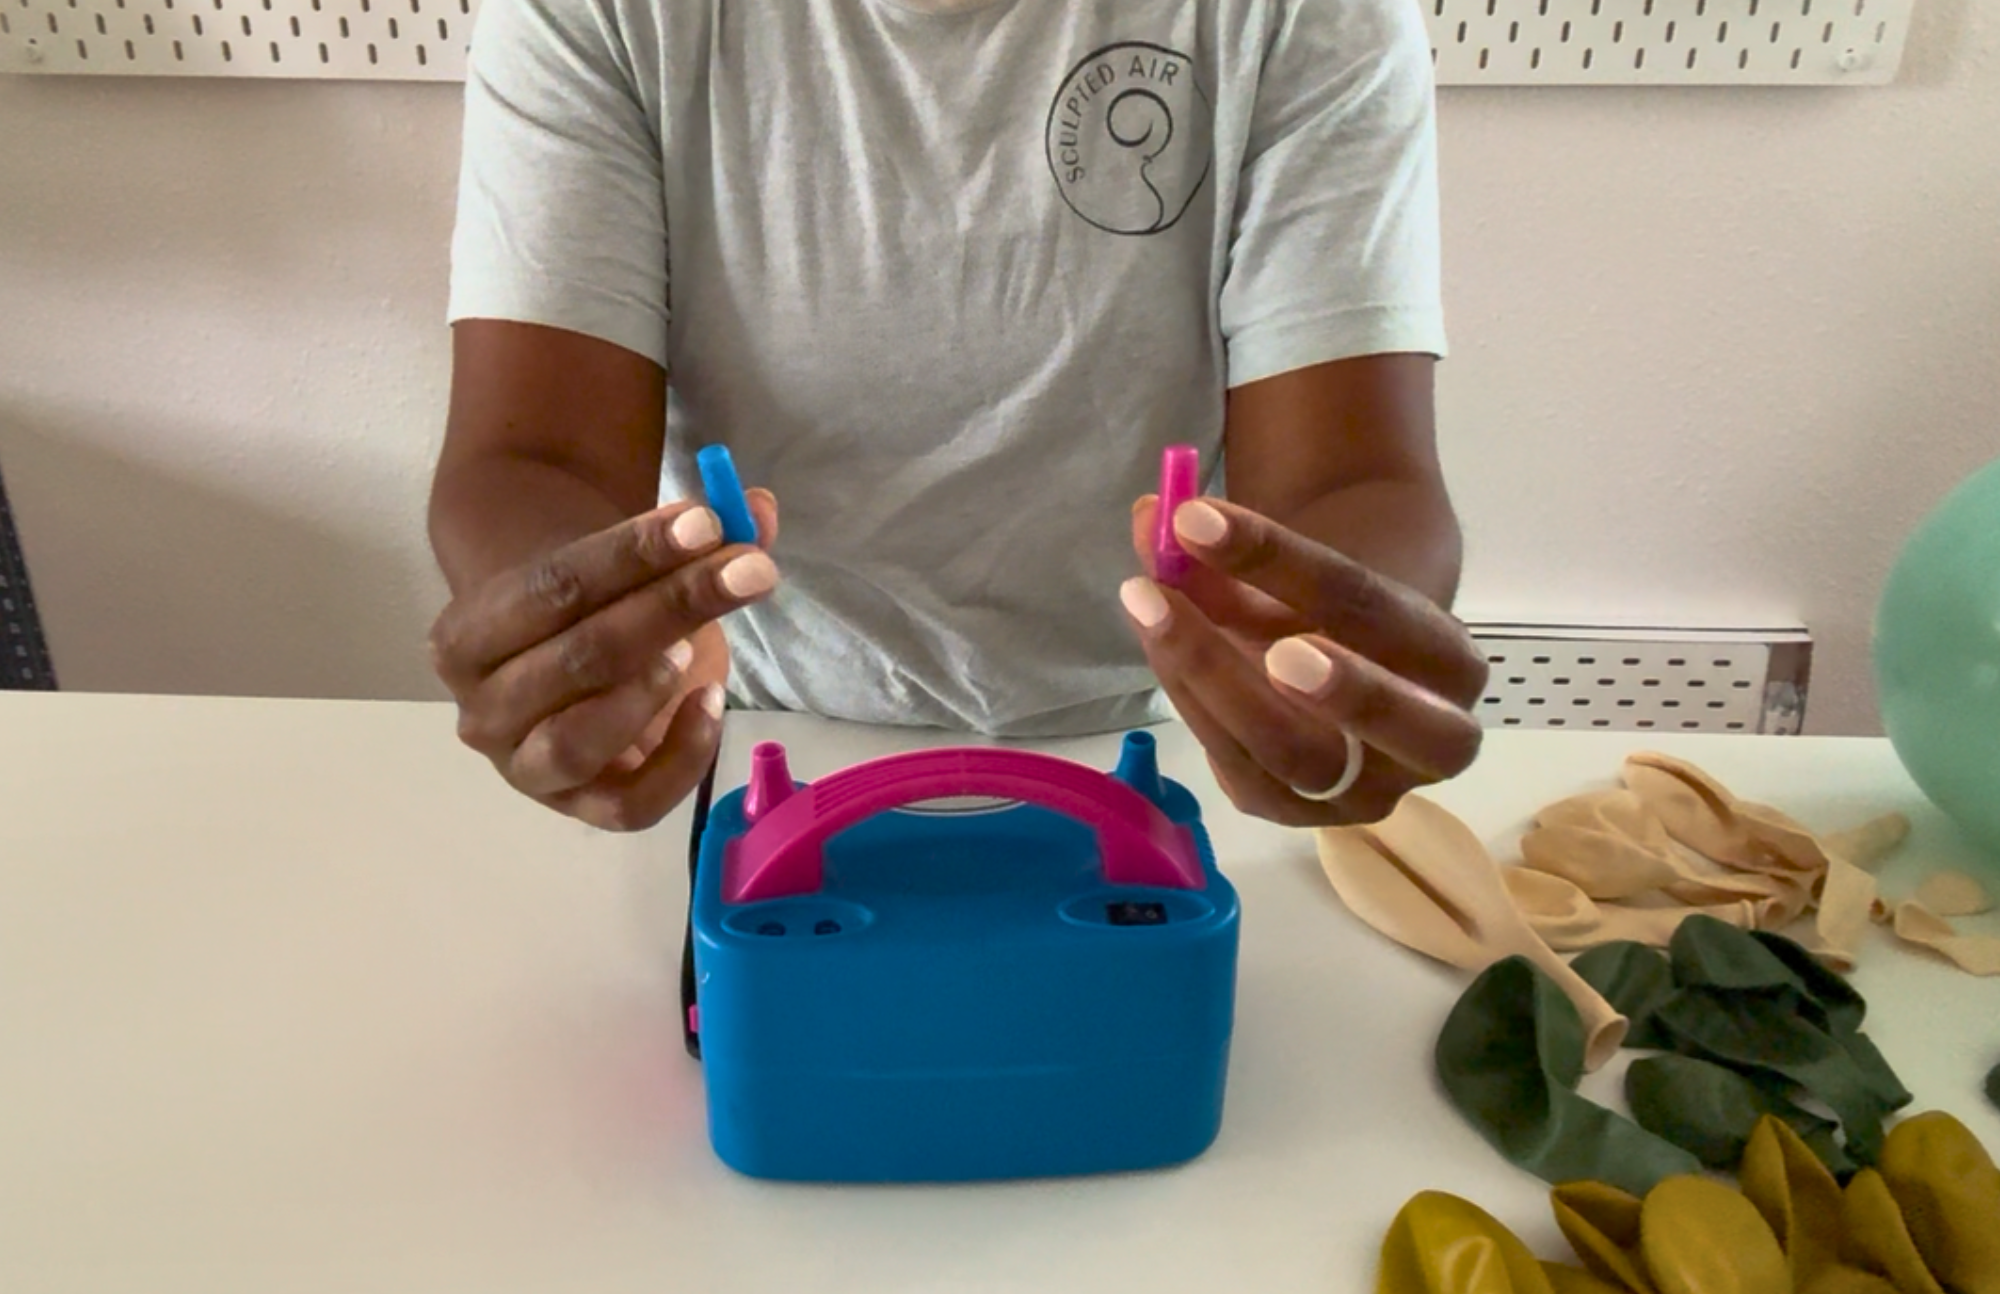
Use the Small Nozzle for Small Balloons
Tiny balloon? Tiny nozzle! Swap to the skinny pink nozzle on your pump when inflating 5" balloons. It gives better control so your minis don’t fly away mid-puff.
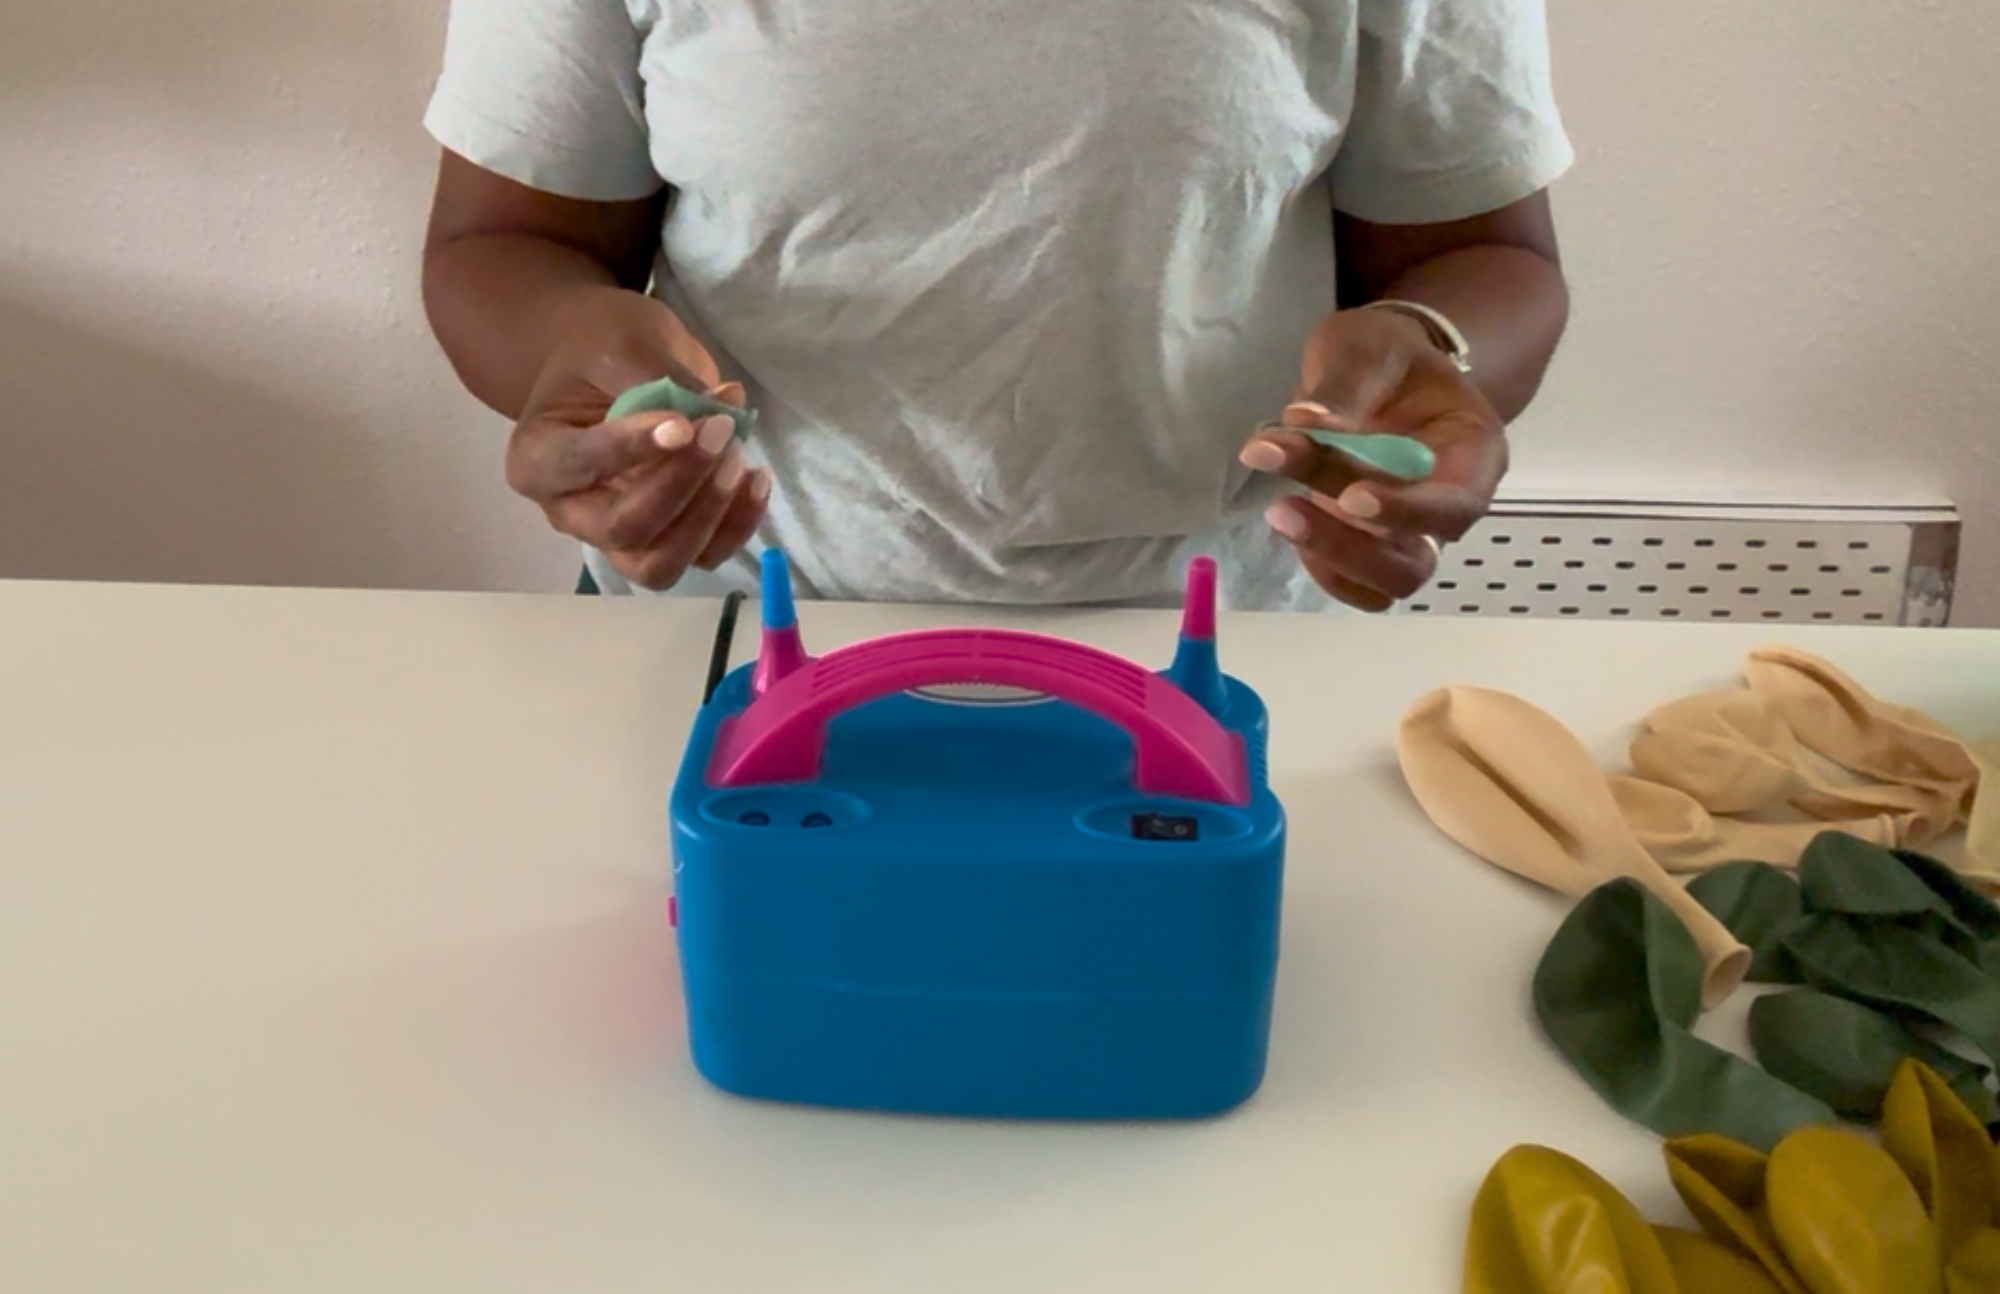
Inflate Your Mini Duplets
Inflate two balloons, remember this is a organic look so they don't need to be the same size.
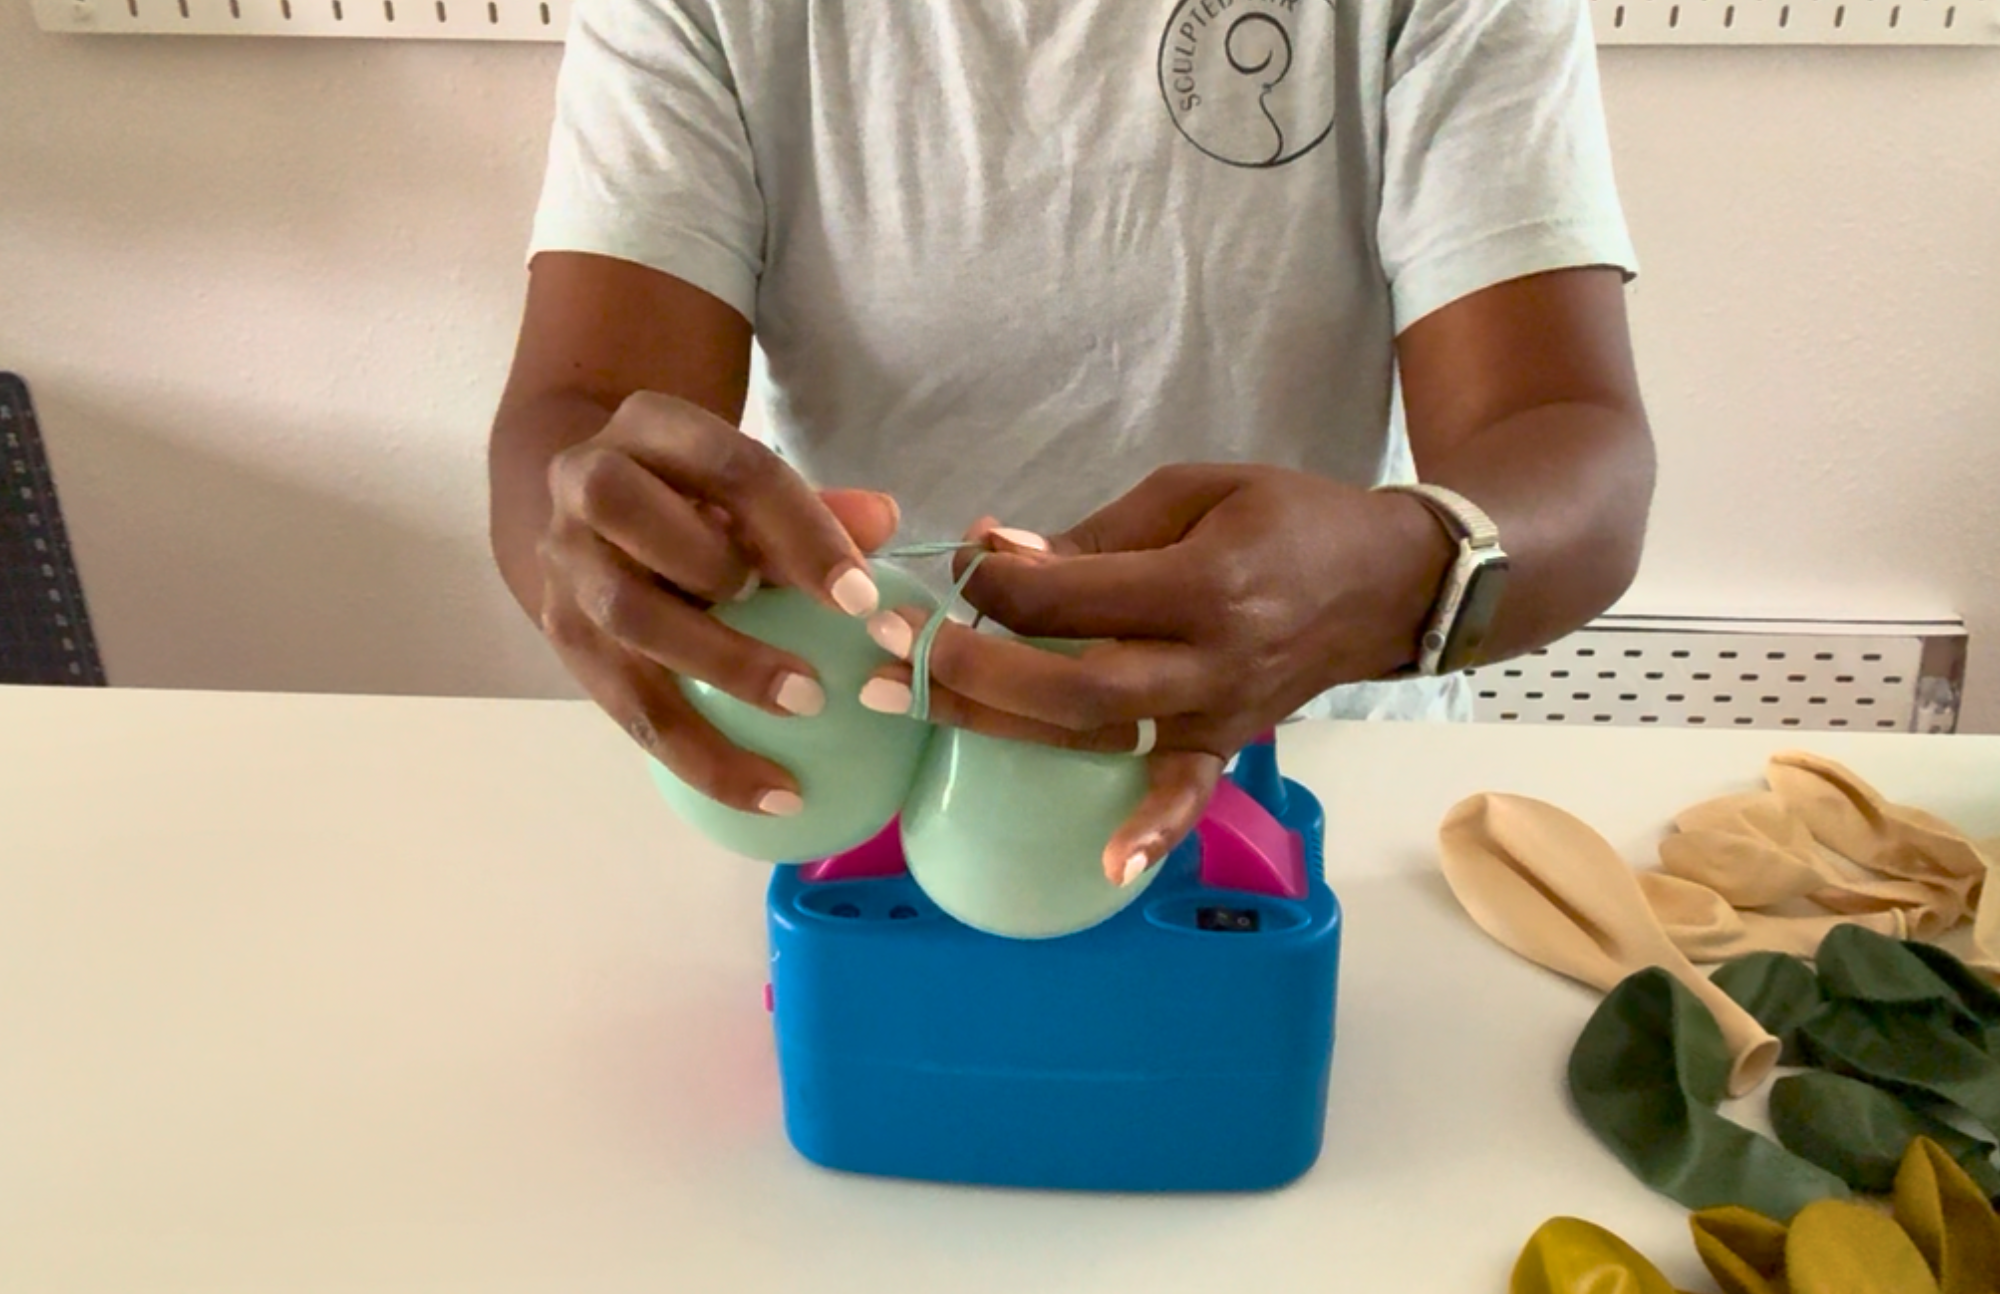
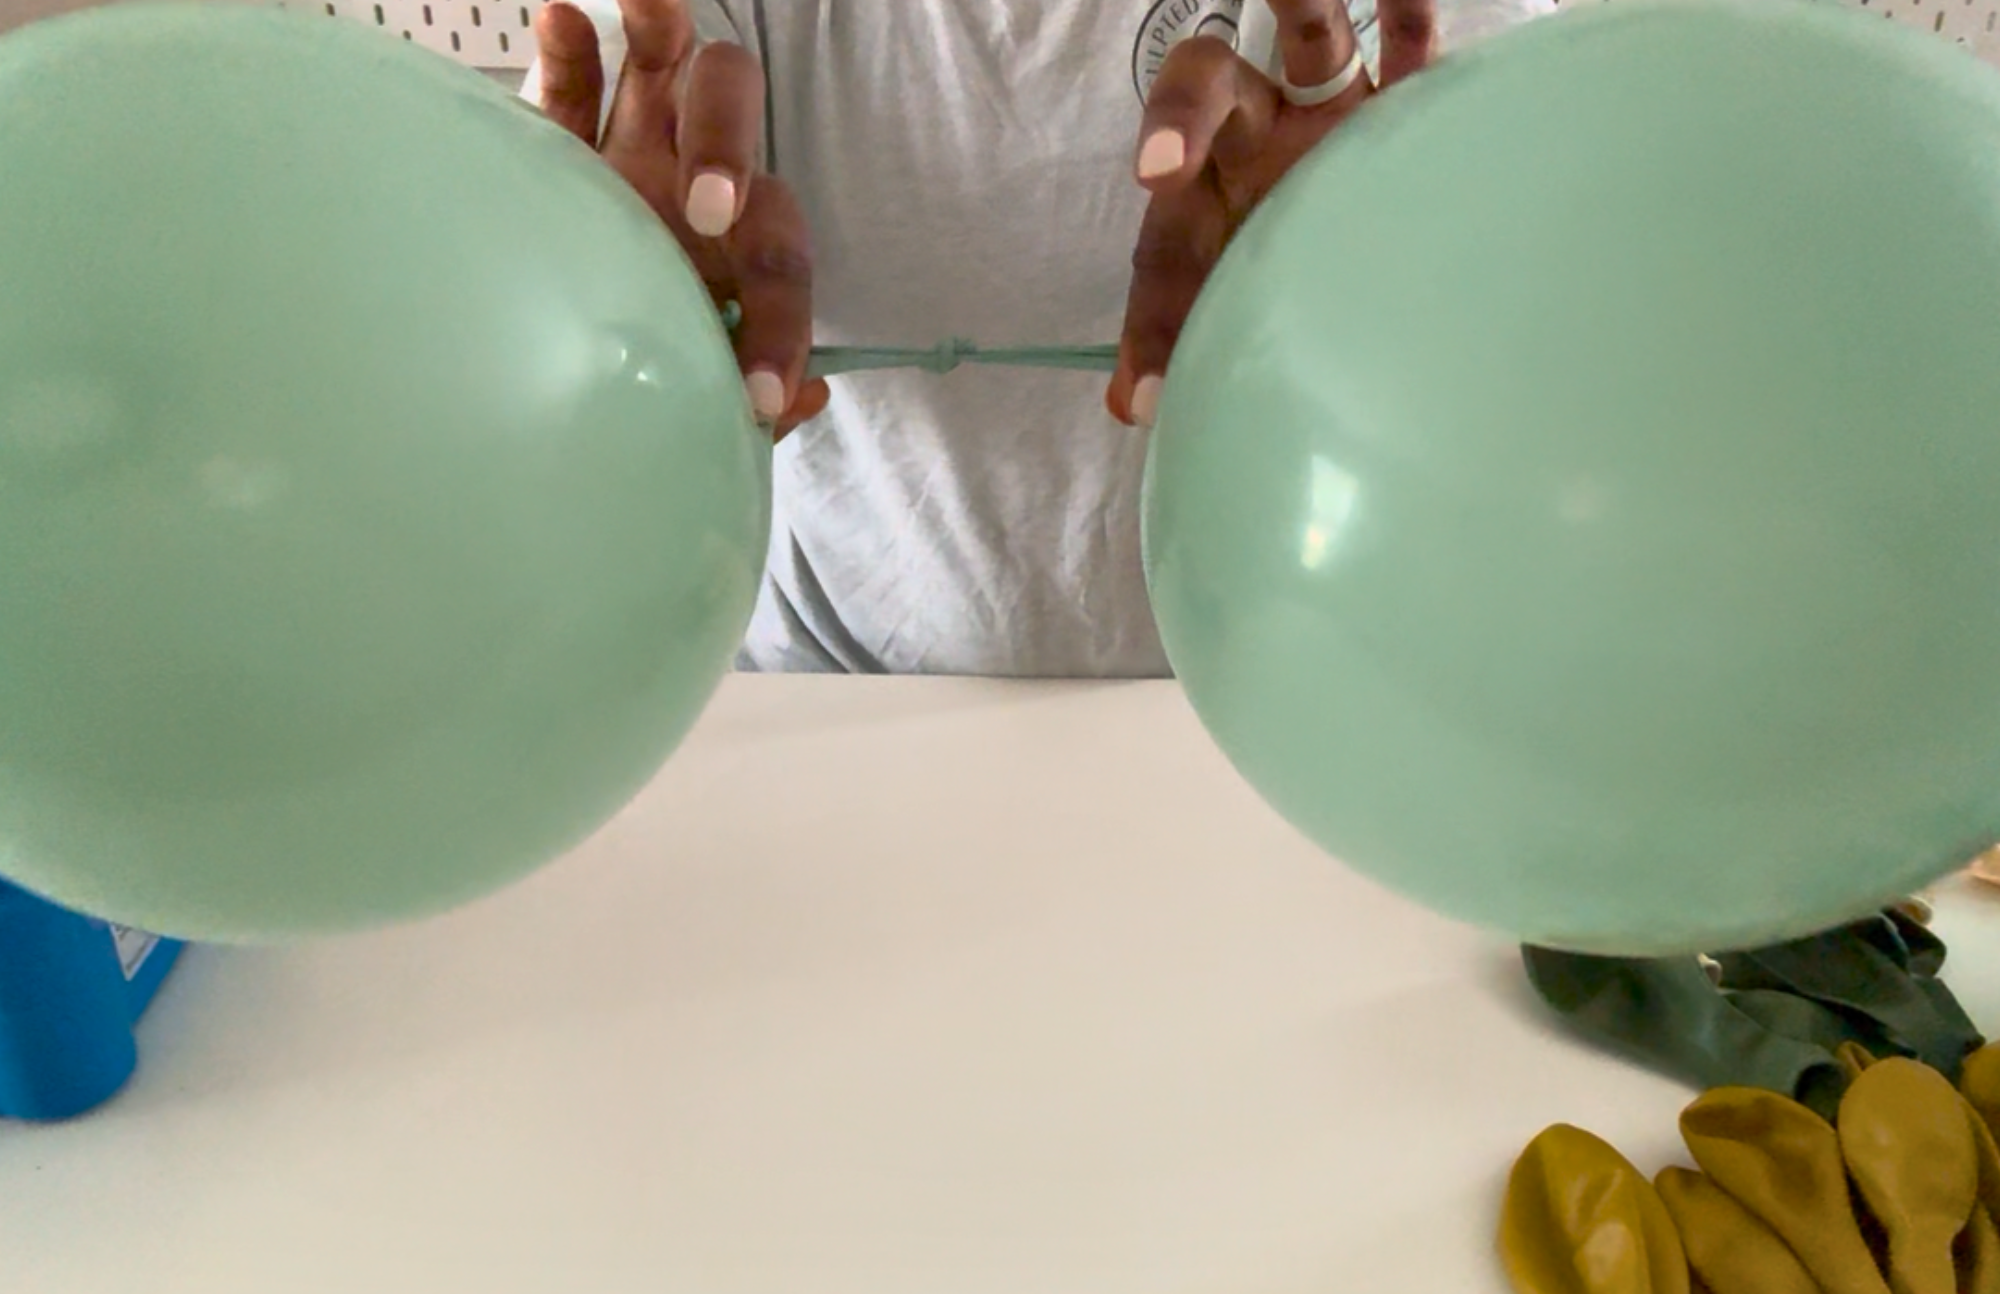
Twist & Tie Your Duplets
Twist and knot them together at the necks to create a duplet. These pairs add fullness and dimension to your garland, giving it that lush, layered look.
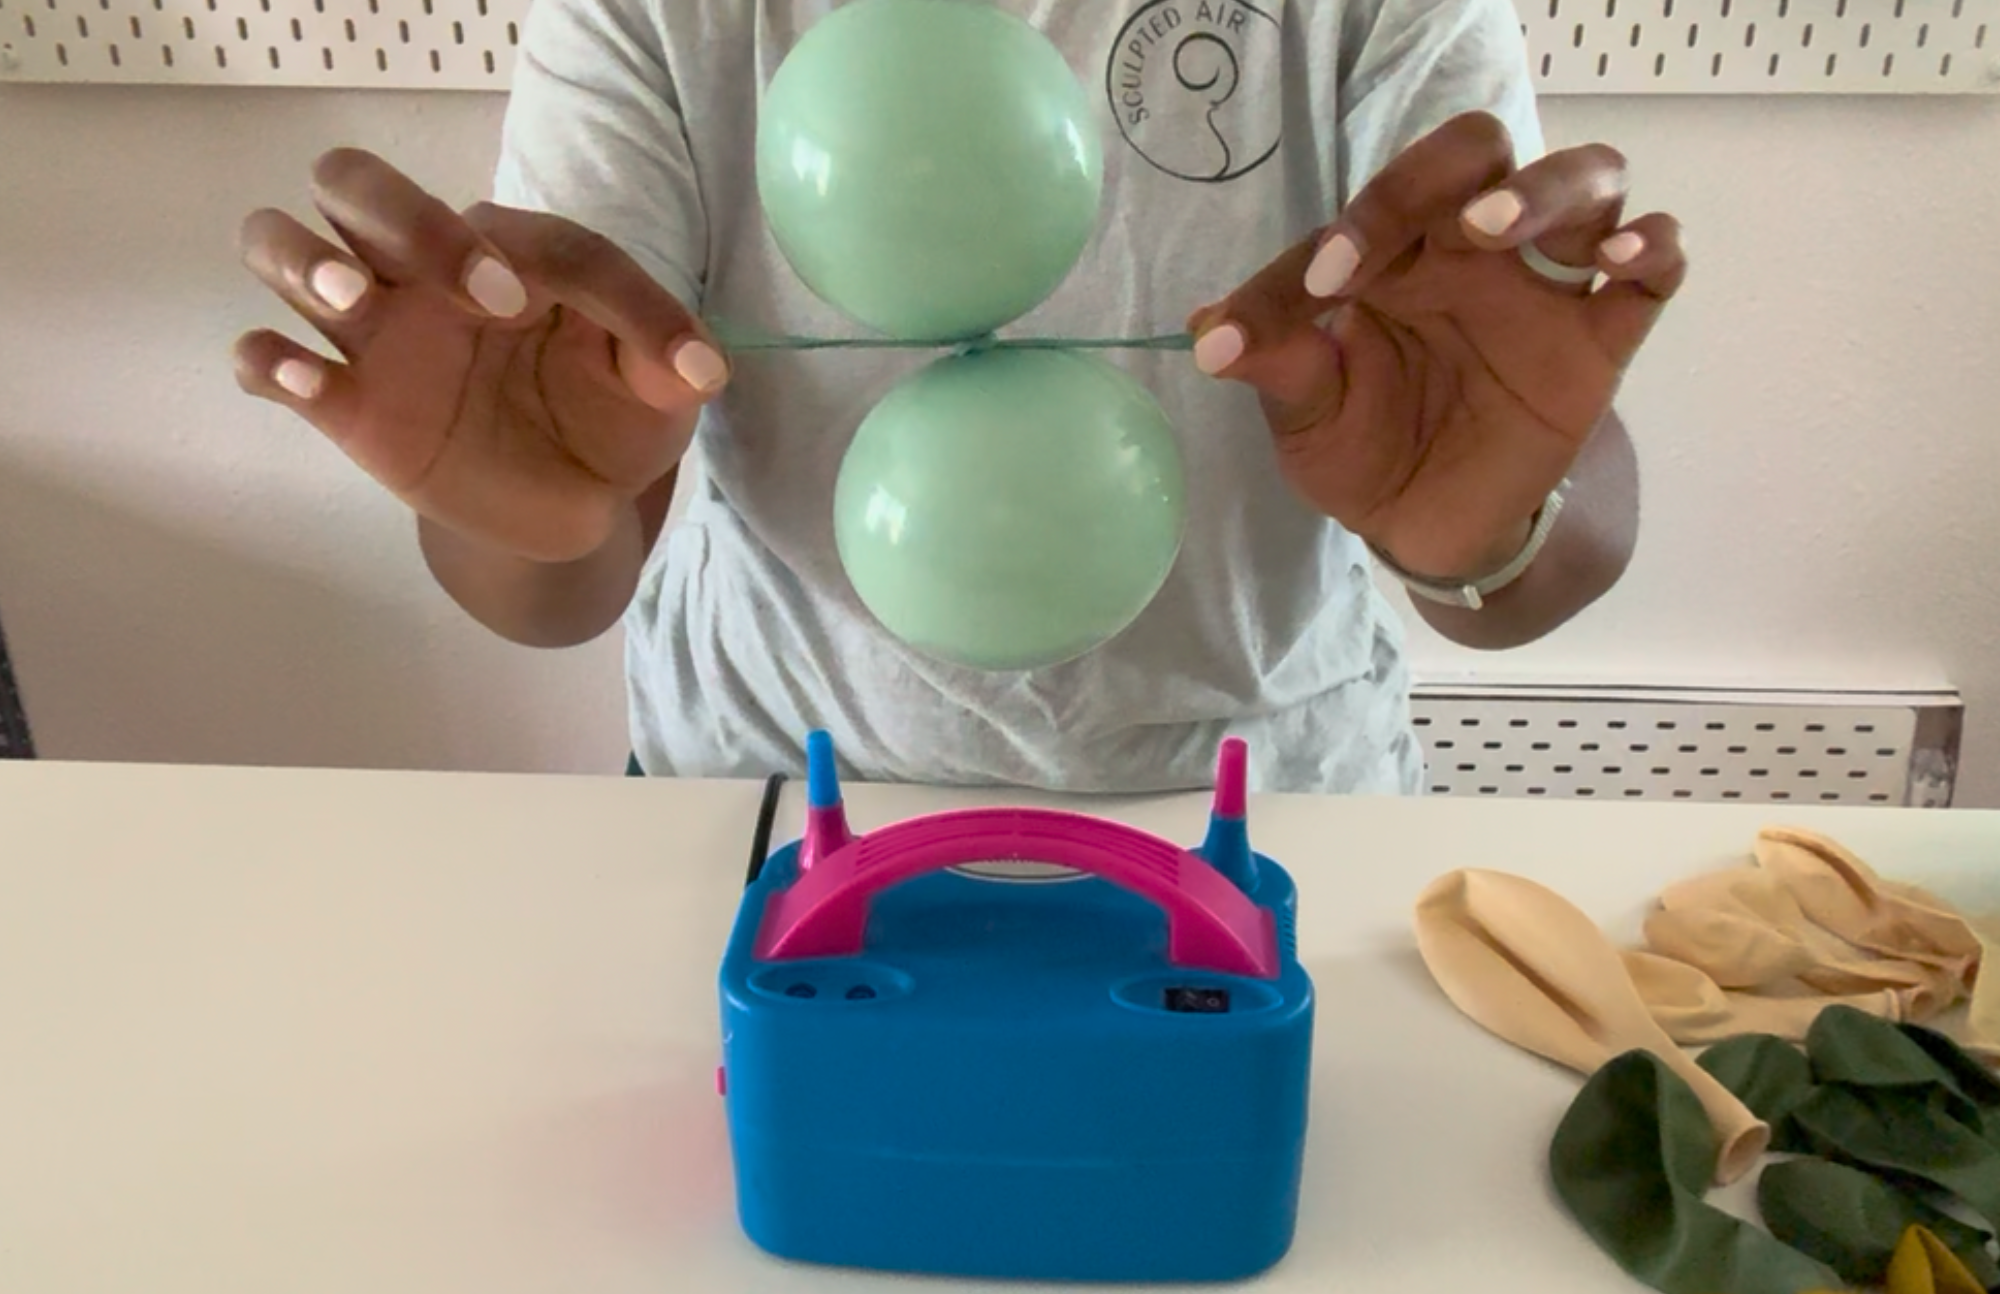
Pull
Pull the end to tighten the knot.
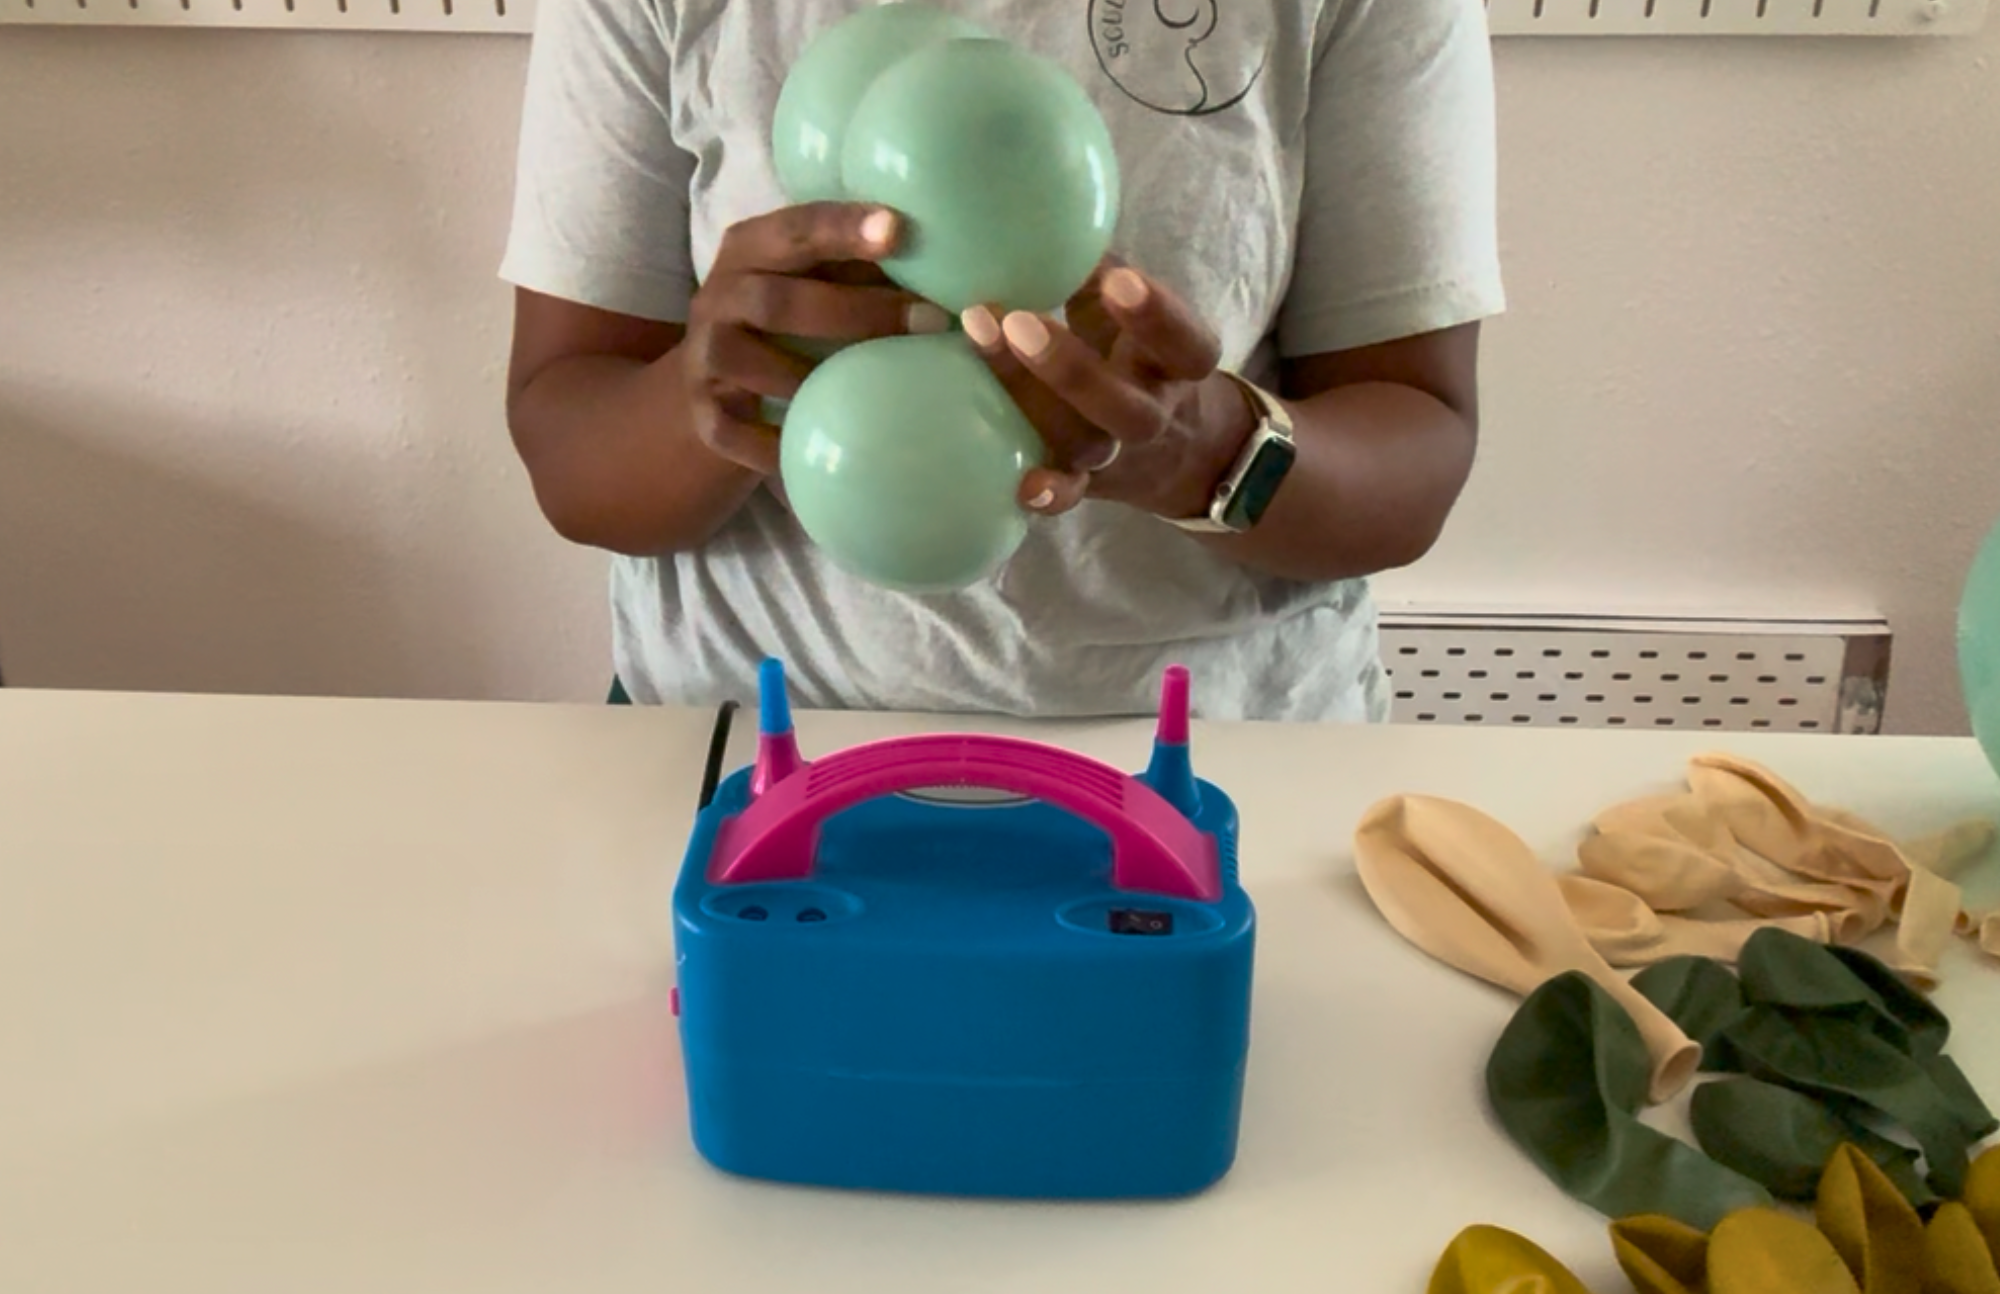
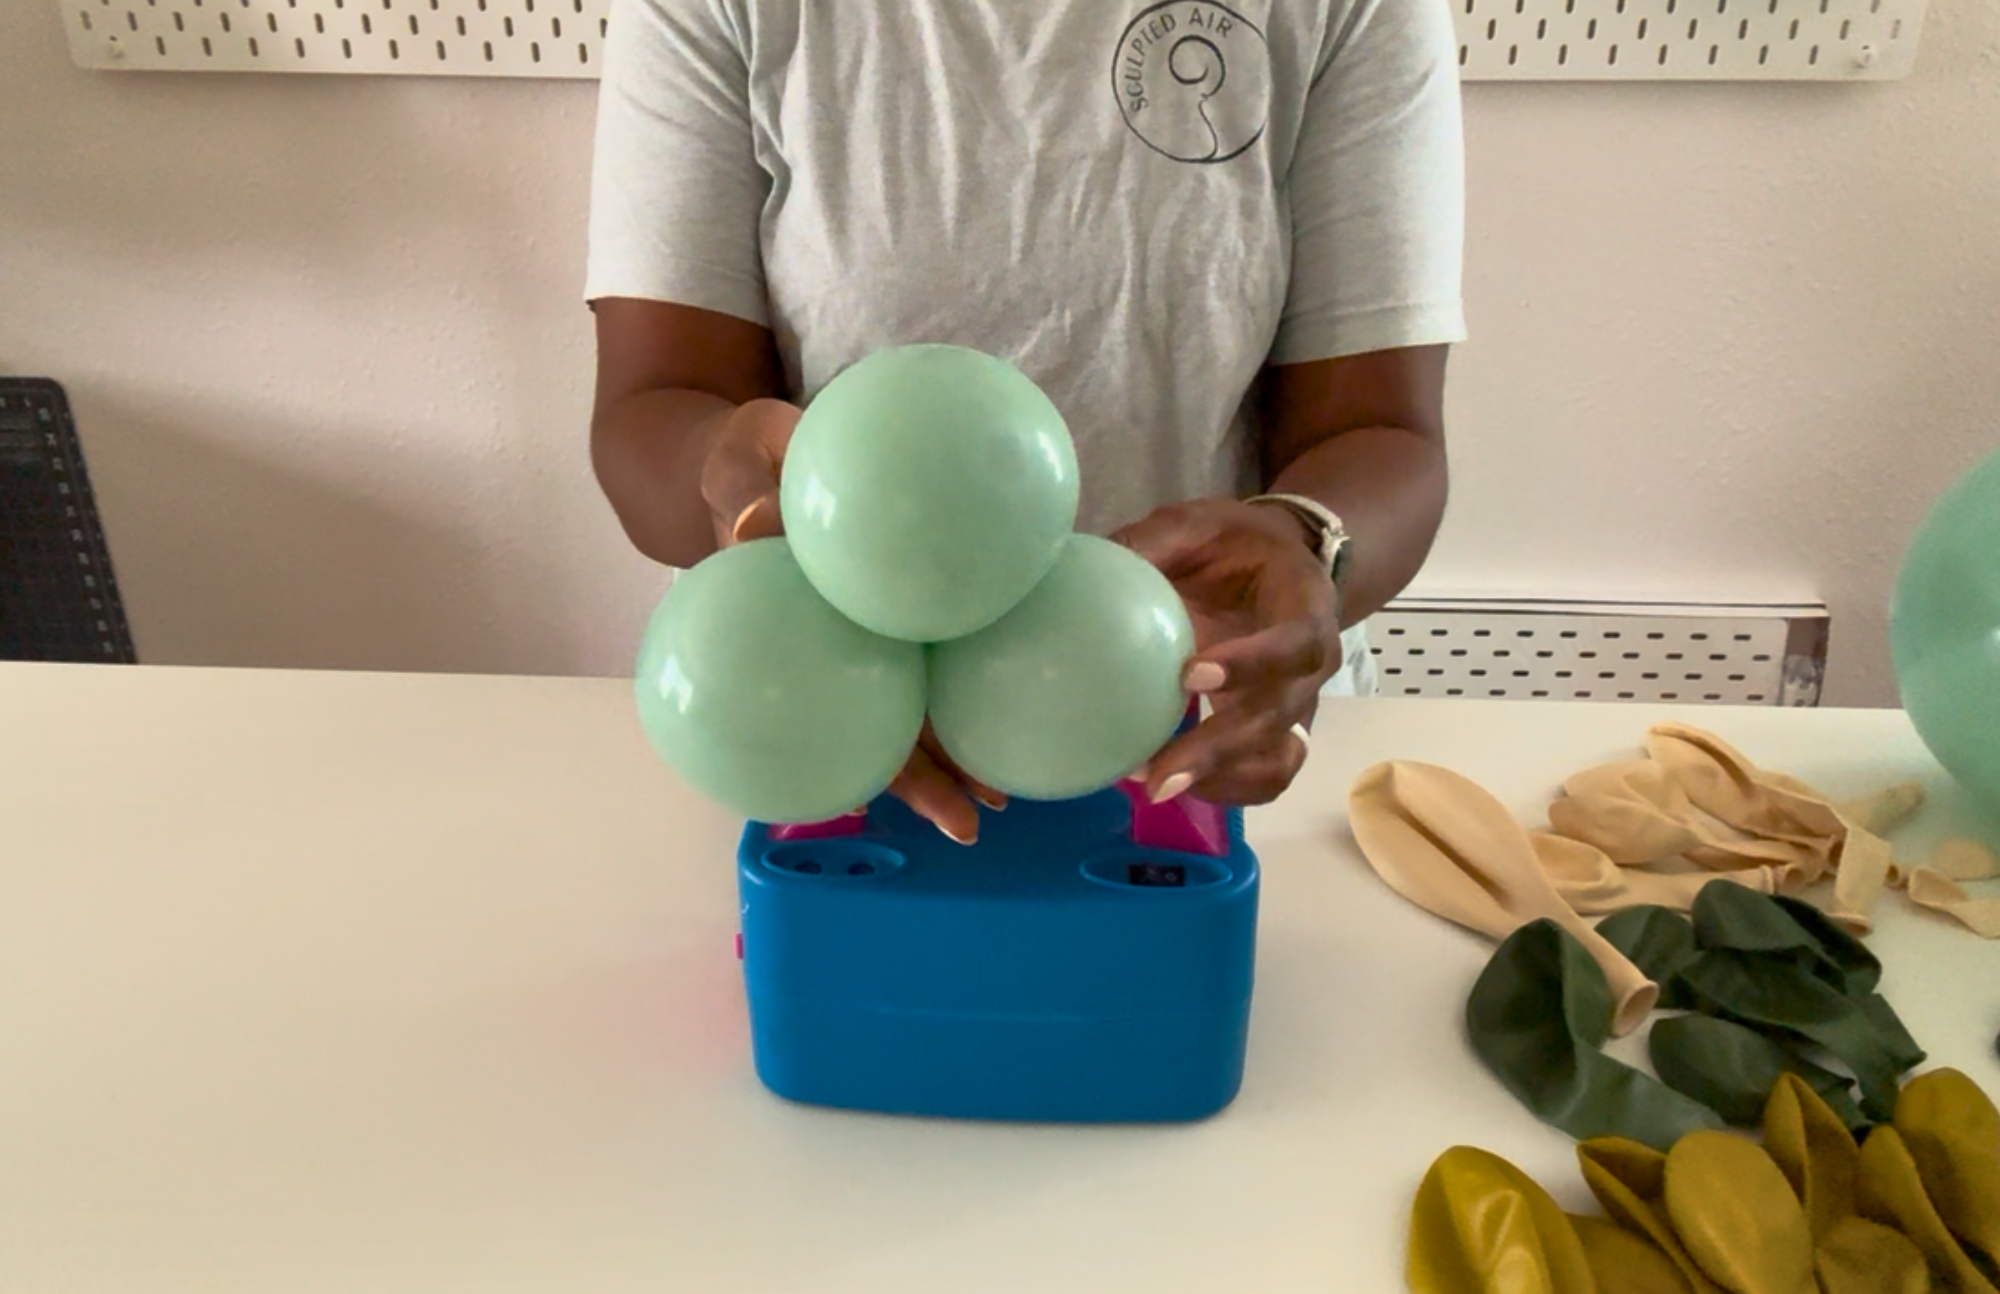
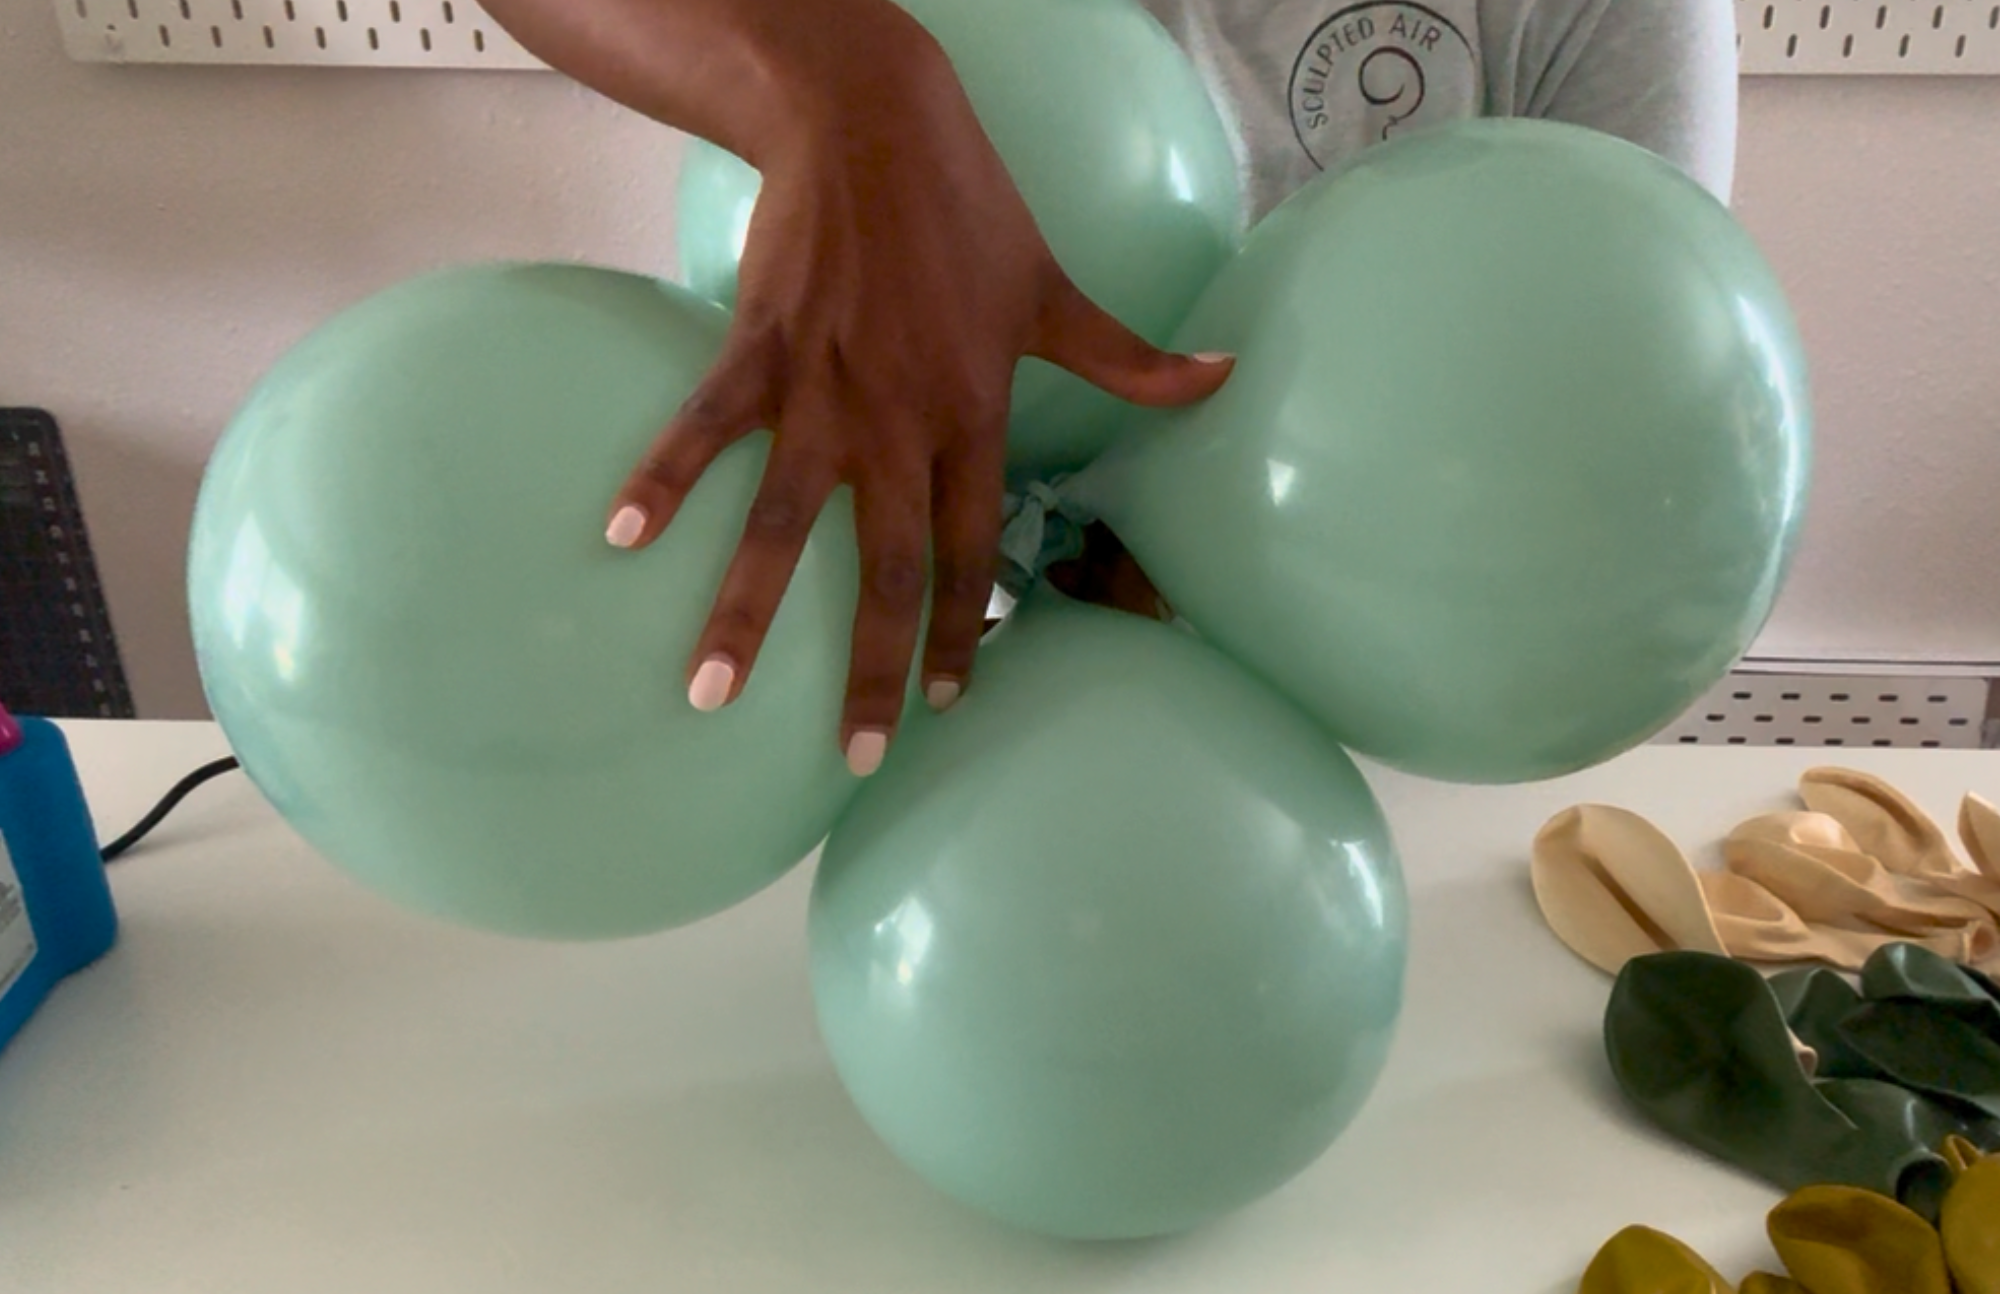
Stack It Up
Take two duplets and stack them in a criss-cross pattern. This is where the fun begins—you're starting to build clusters that give your garland that bubbly, organic look.
Lock It In
Twist the duplets together firmly at the center to secure your quad. A few good twists will keep them snug and ready for action—no glue needed just yet!
Complete and Repeat
Continue this step with all the mini balloons.
Step 4
Tie Your Main Cluster

Criss-Cross
To tie two balloons together, cross the balloon necks into an X shape.
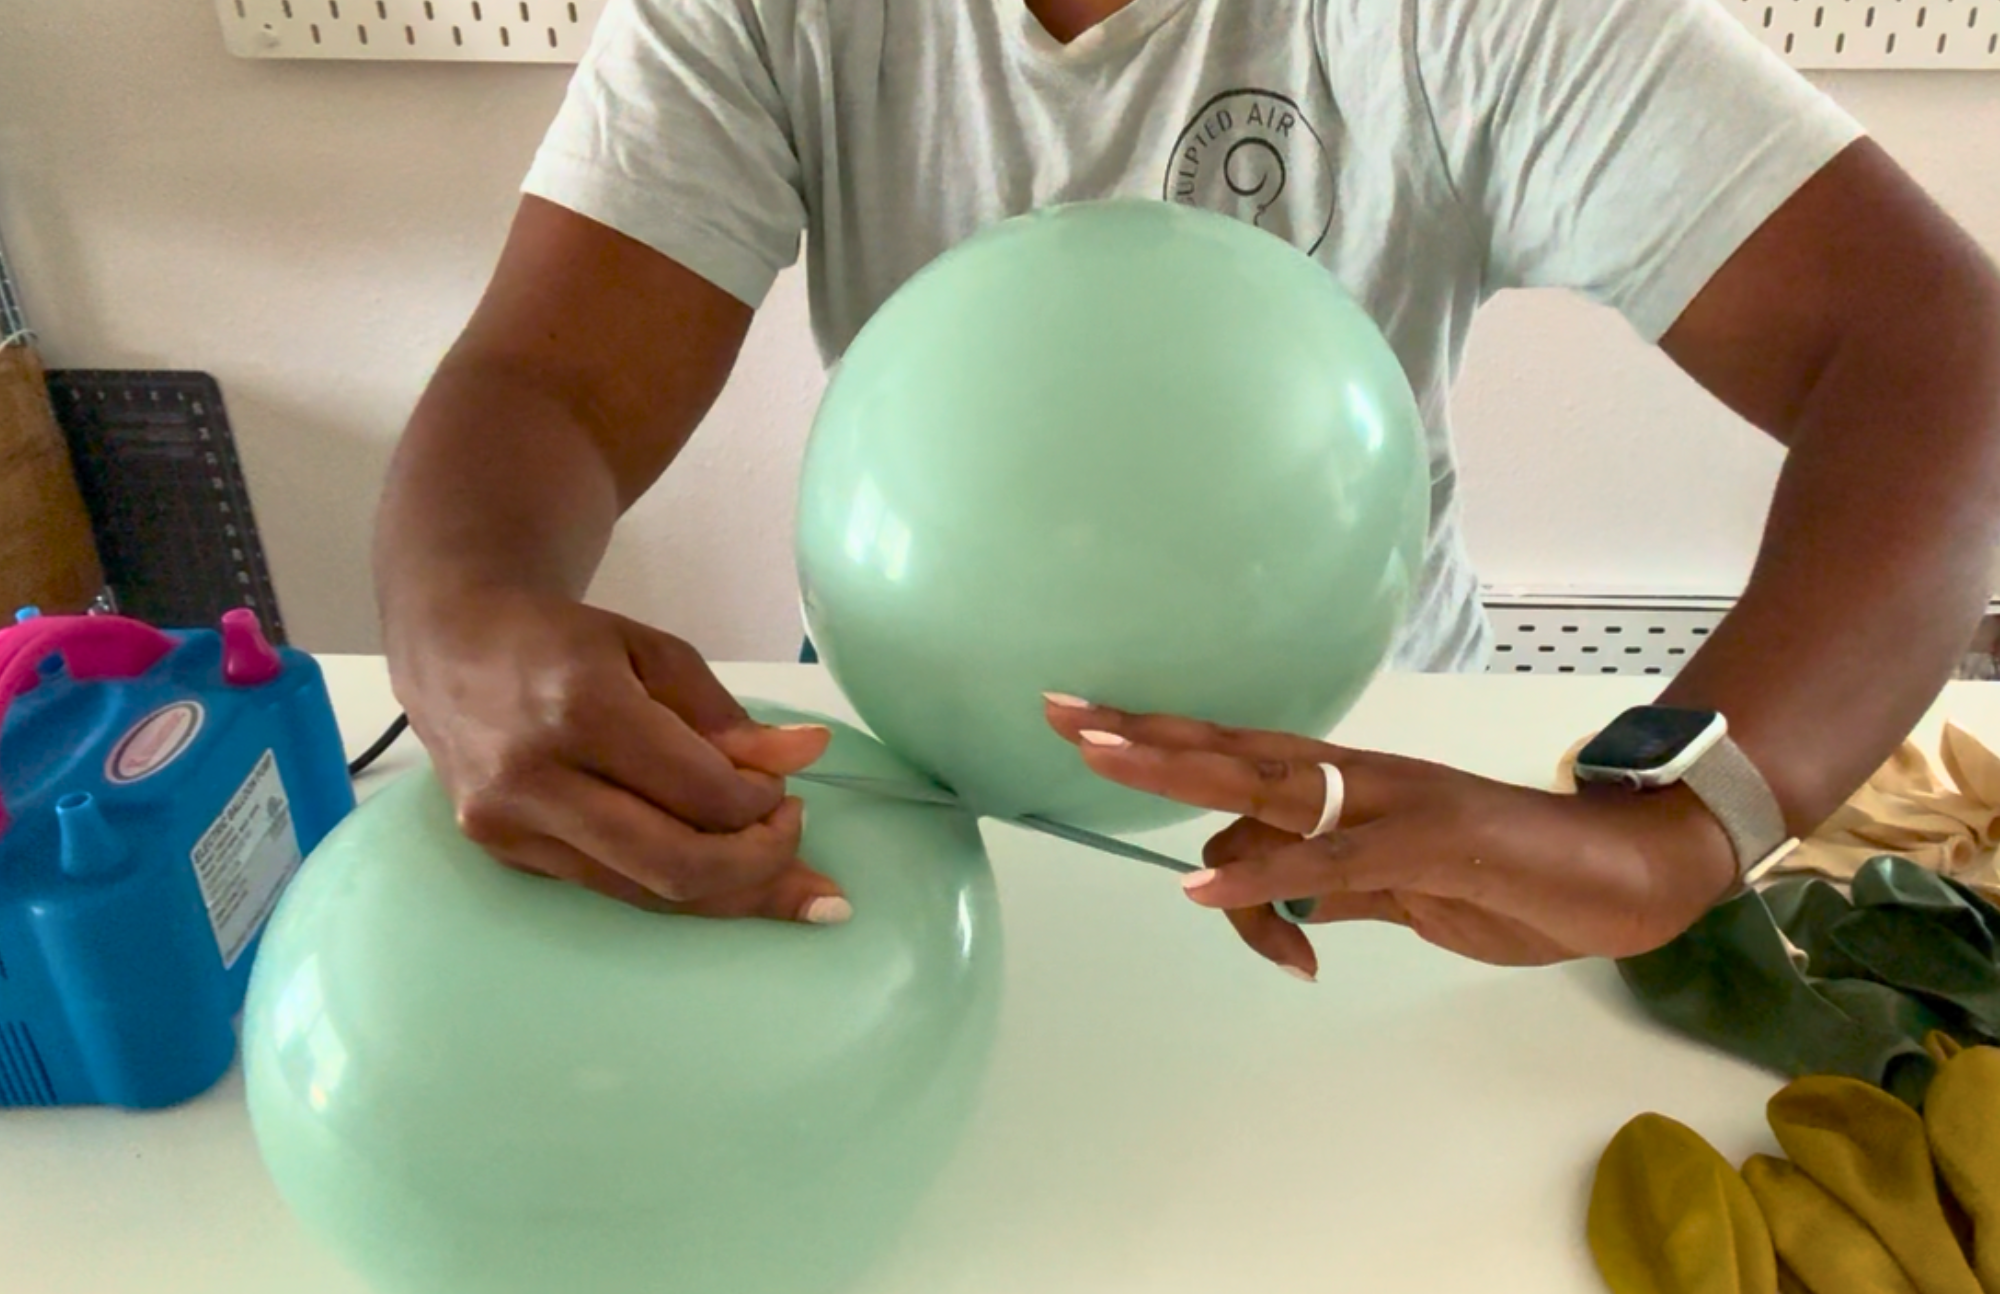
Twist Around
Twist the balloon around to lock the shape in place.

One Under the Other
Pull one neck under the other
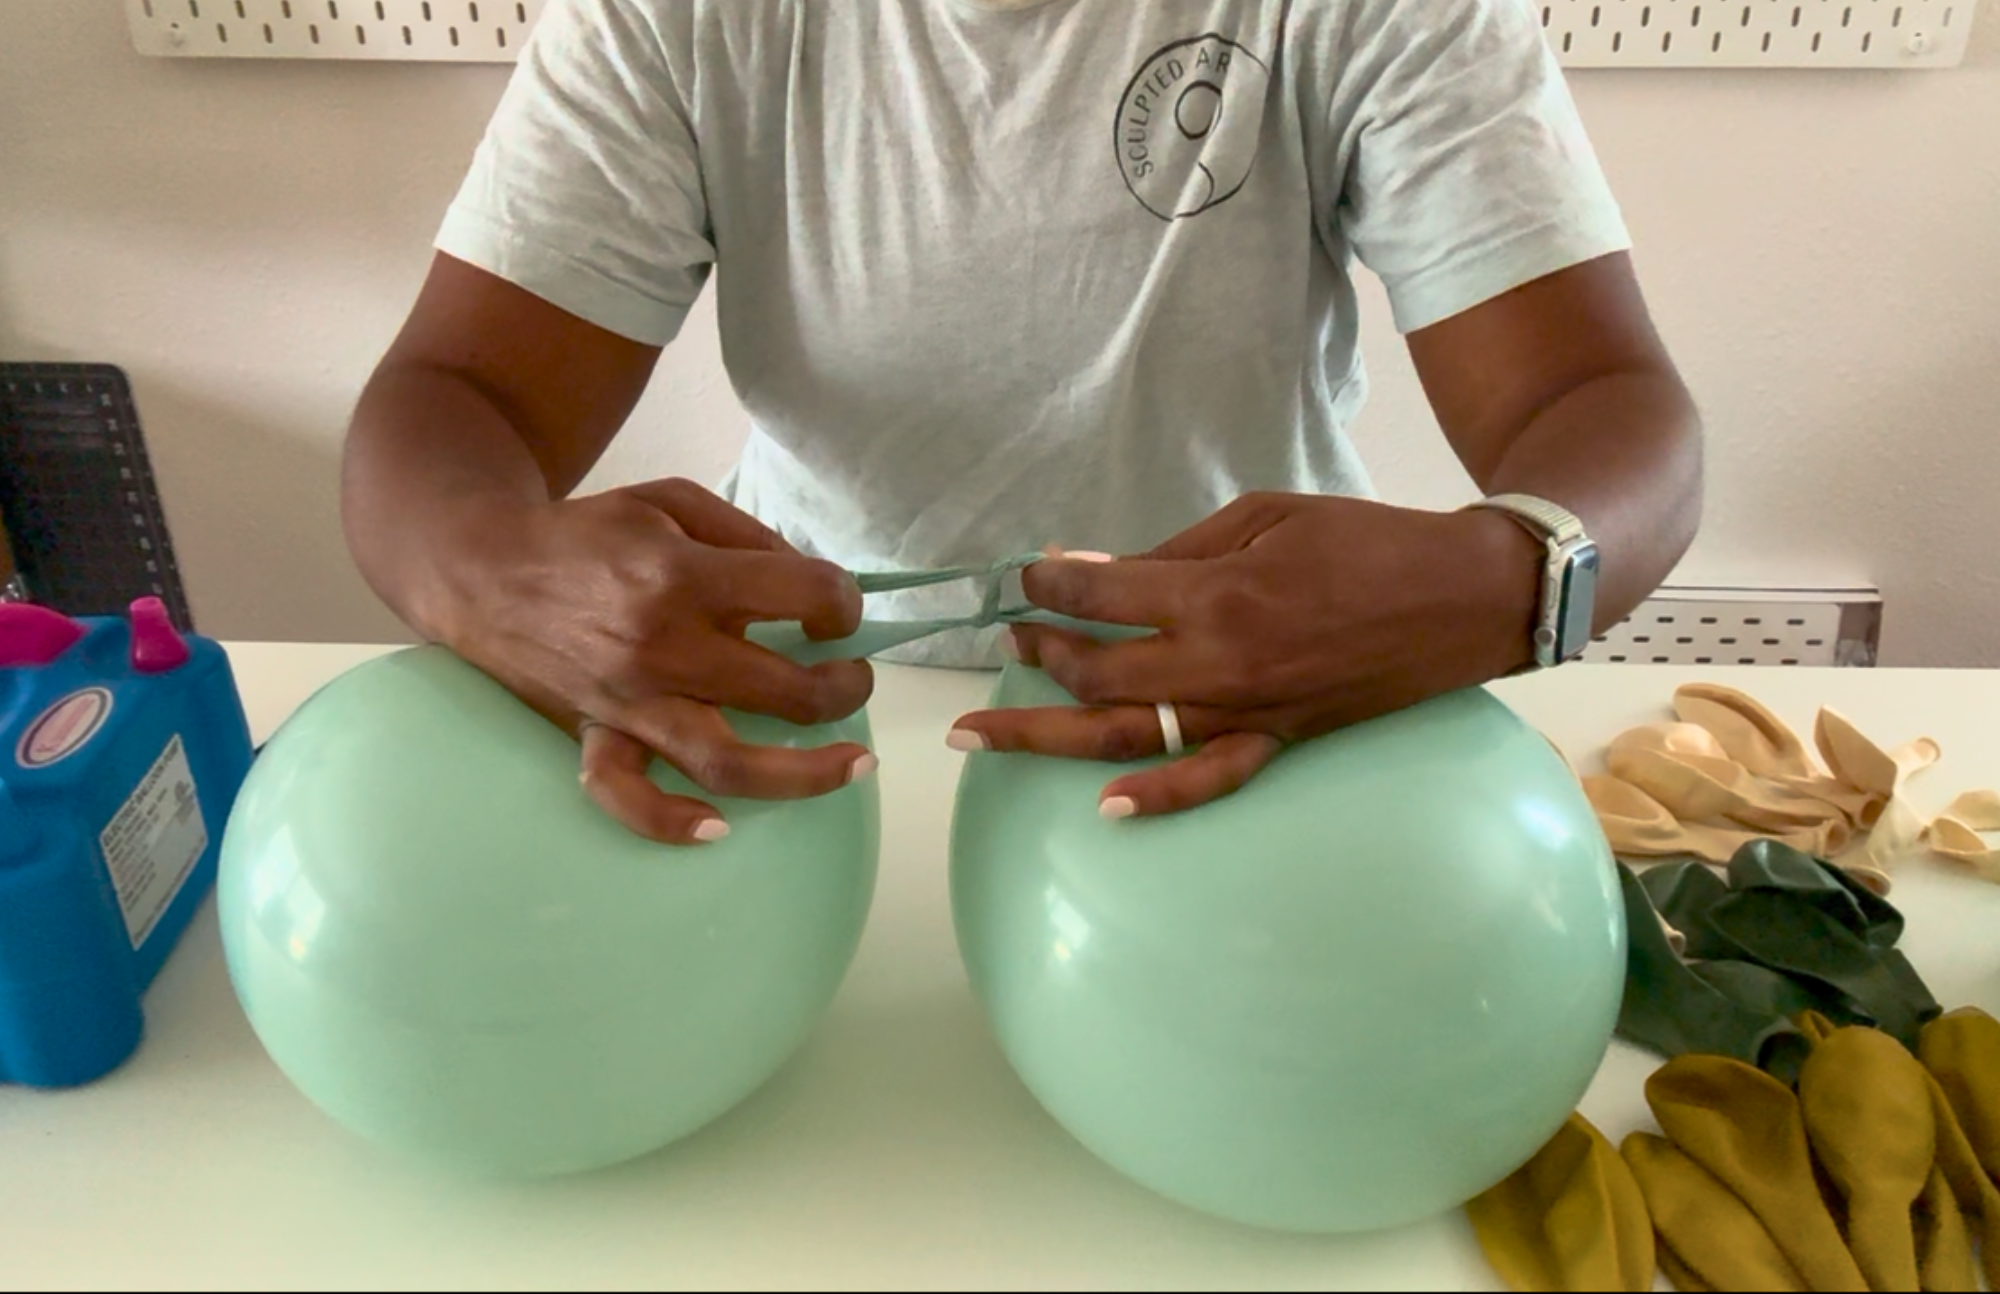
Grab the Necks
Hold onto the balloon necks from opposing duplets.
Pull Together
Give it a firm tug to tighten everything up.
Step 5
Create your Clusters
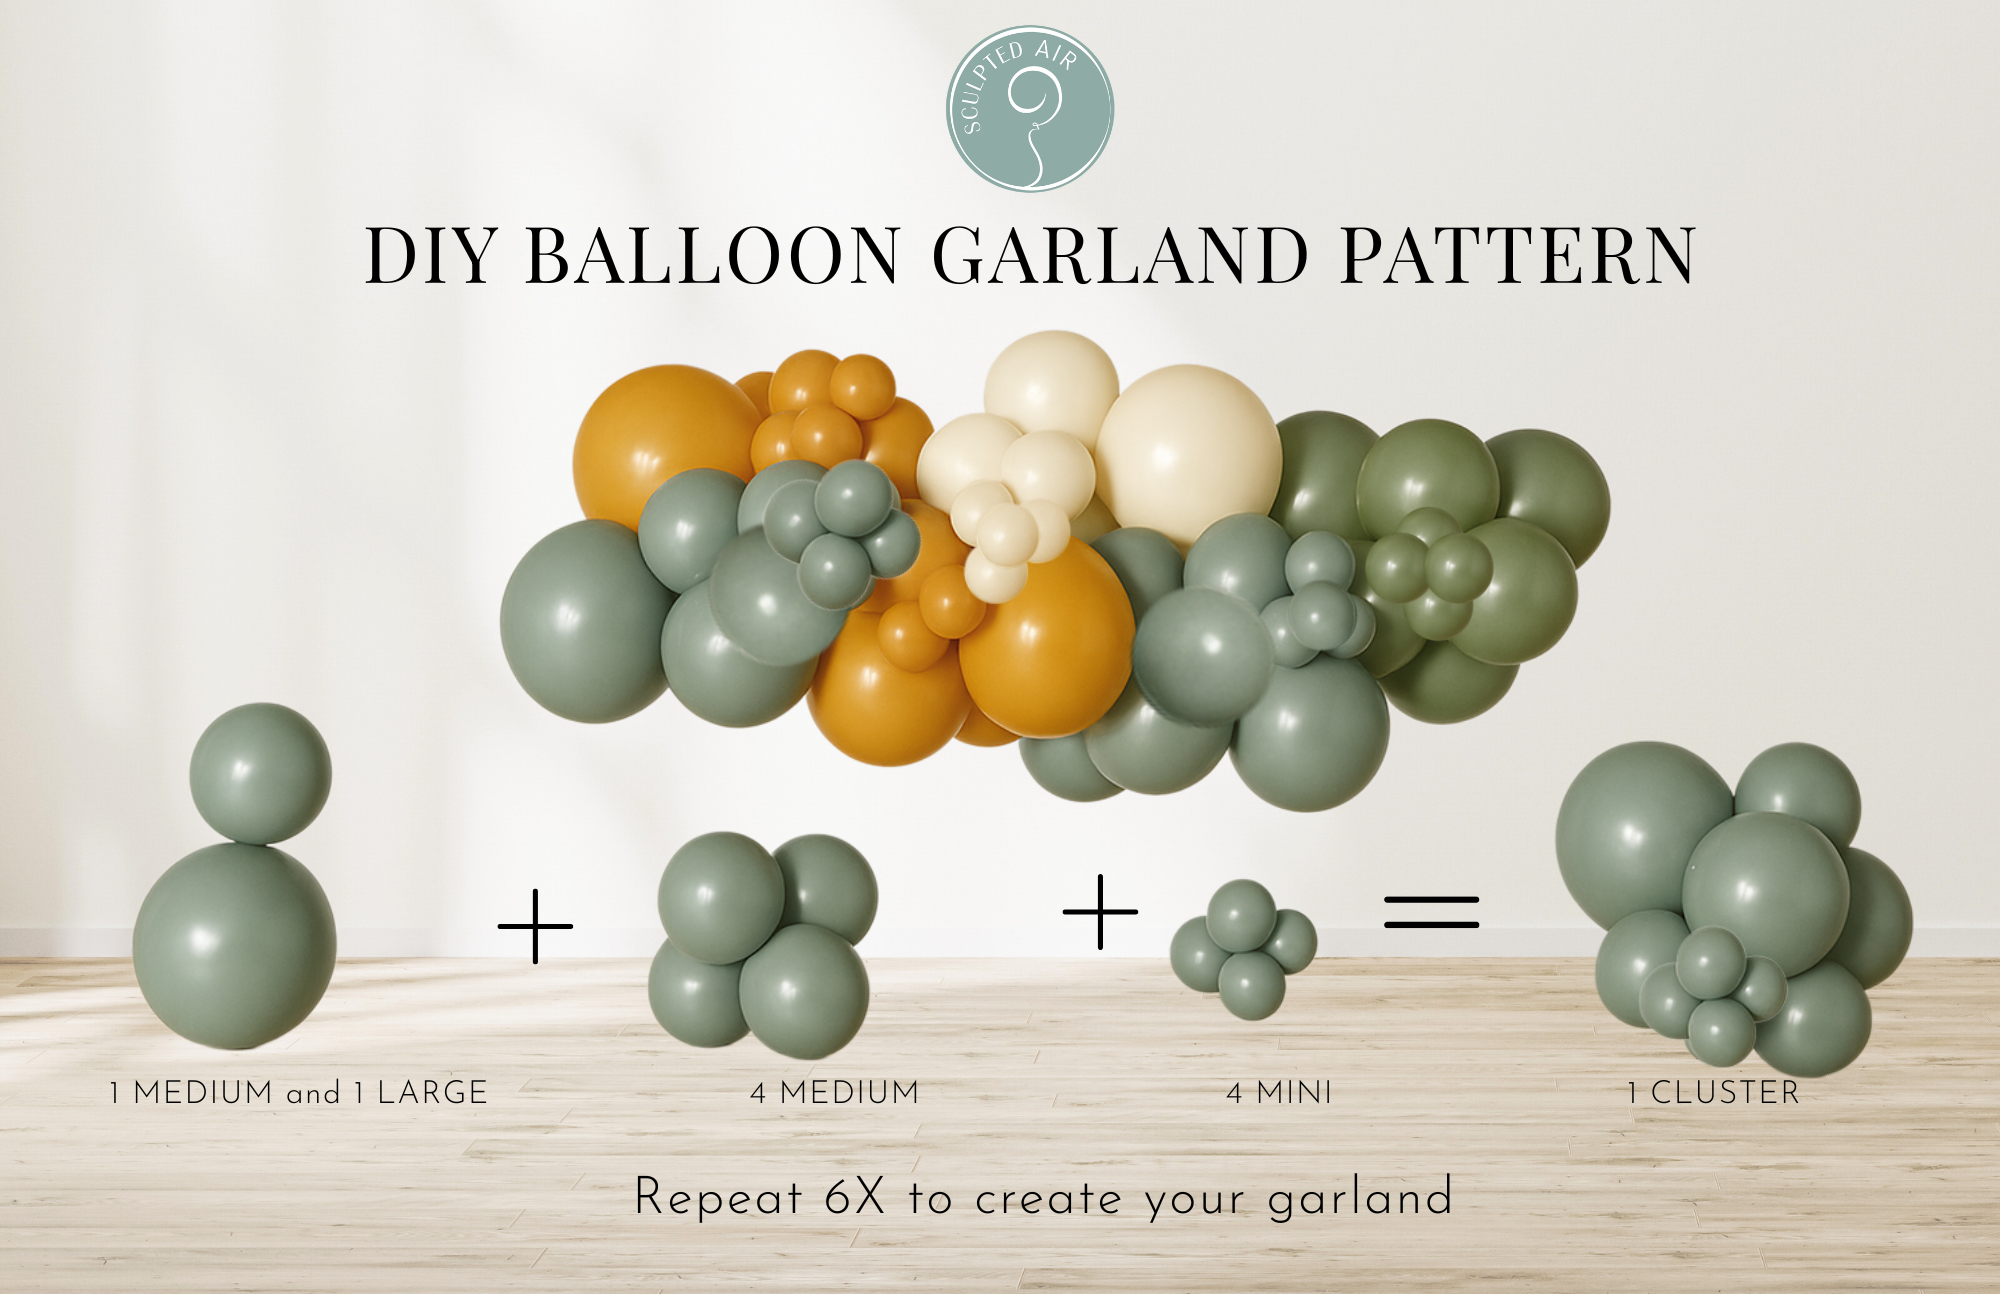
Two Duplets
Take two duplets (4 medium balloons)
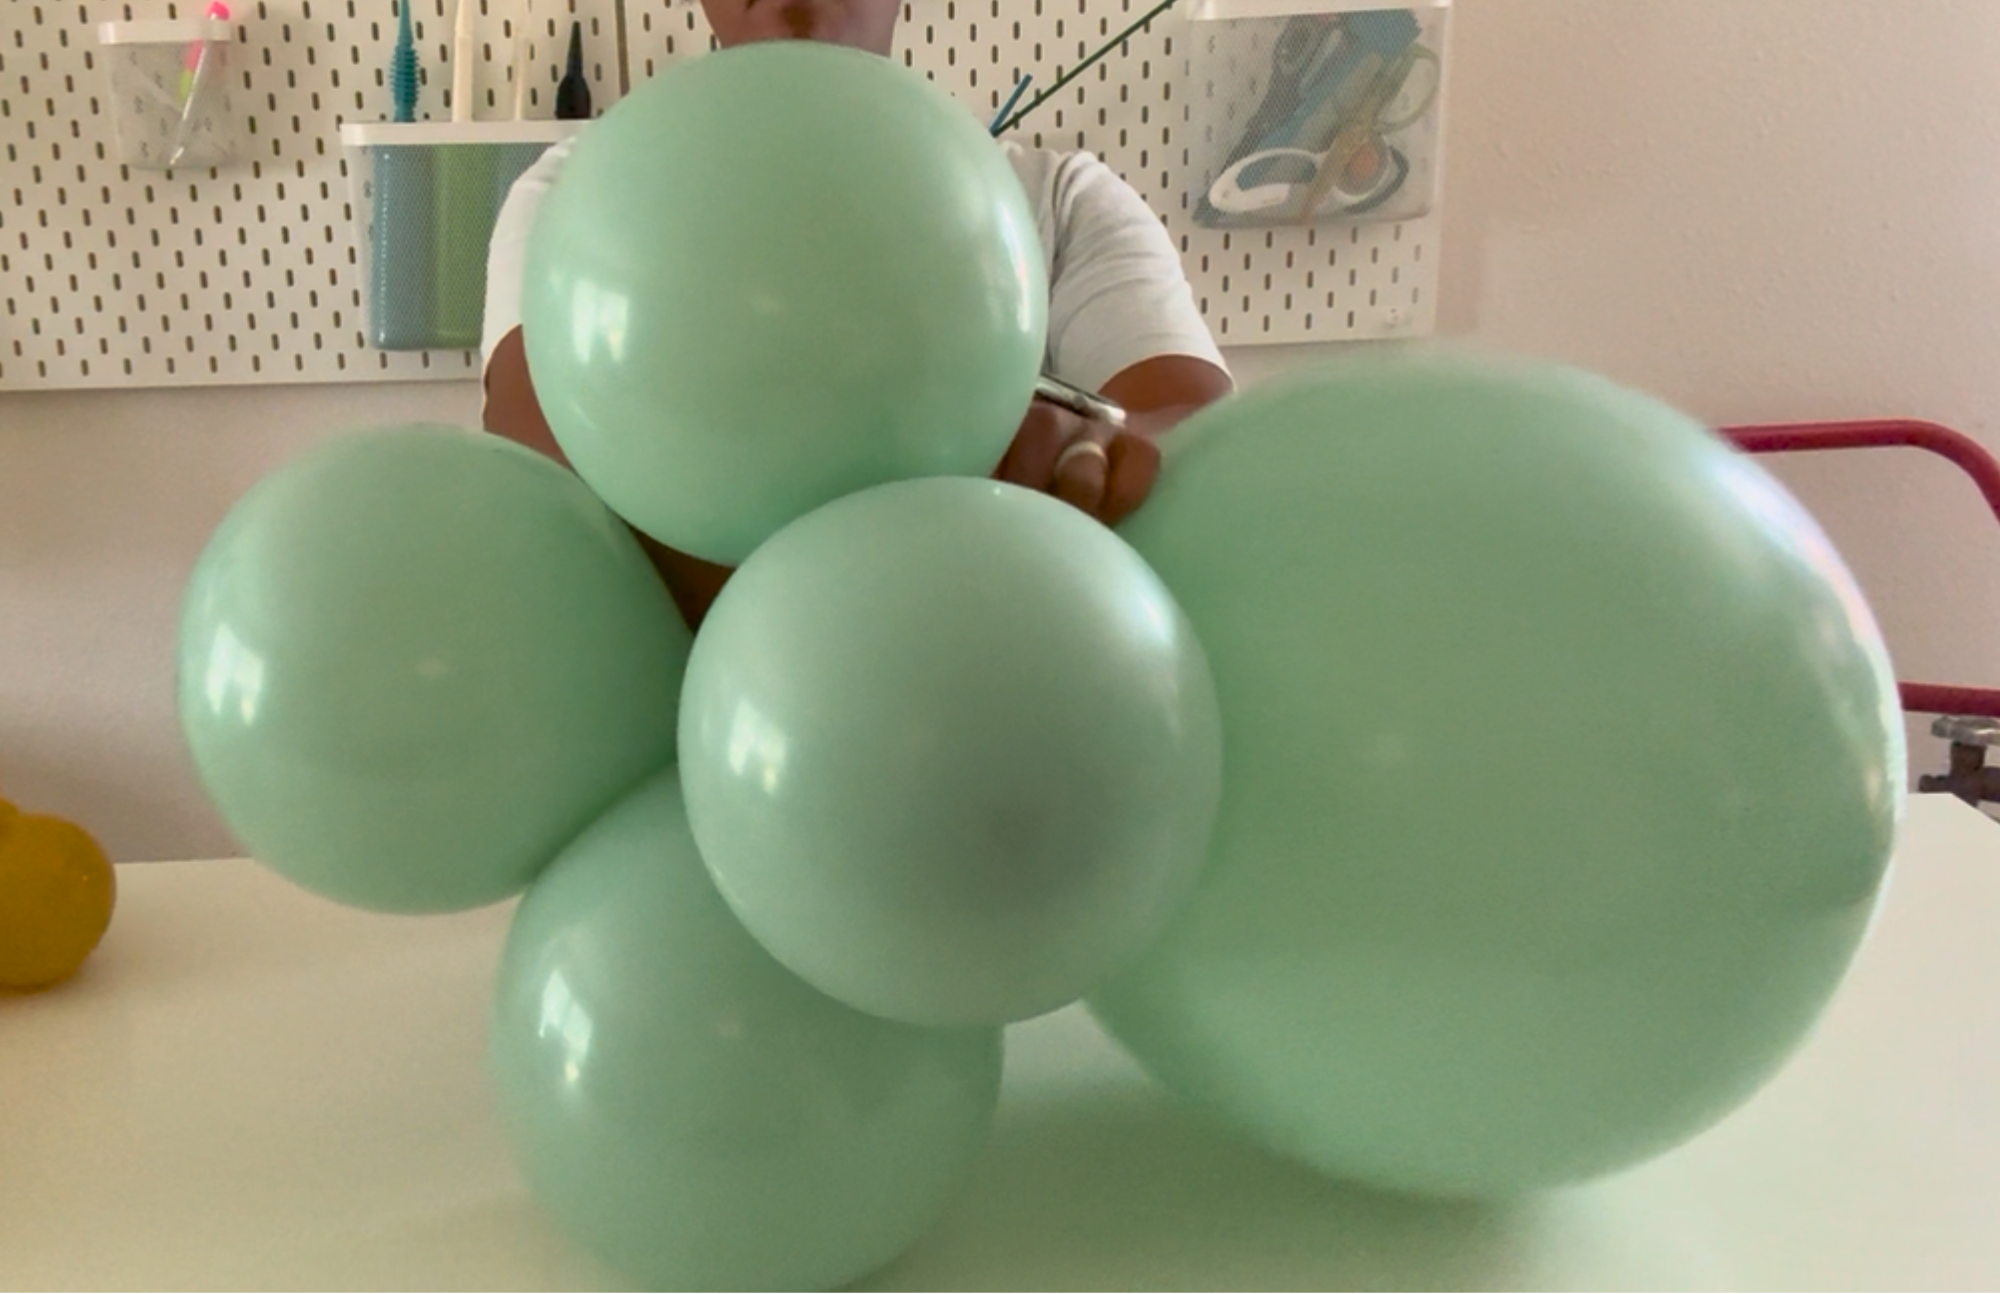
Twist Duplets Together
Twist them together at the center to form a quad. This will be the base of your cluster, giving you shape and structure.
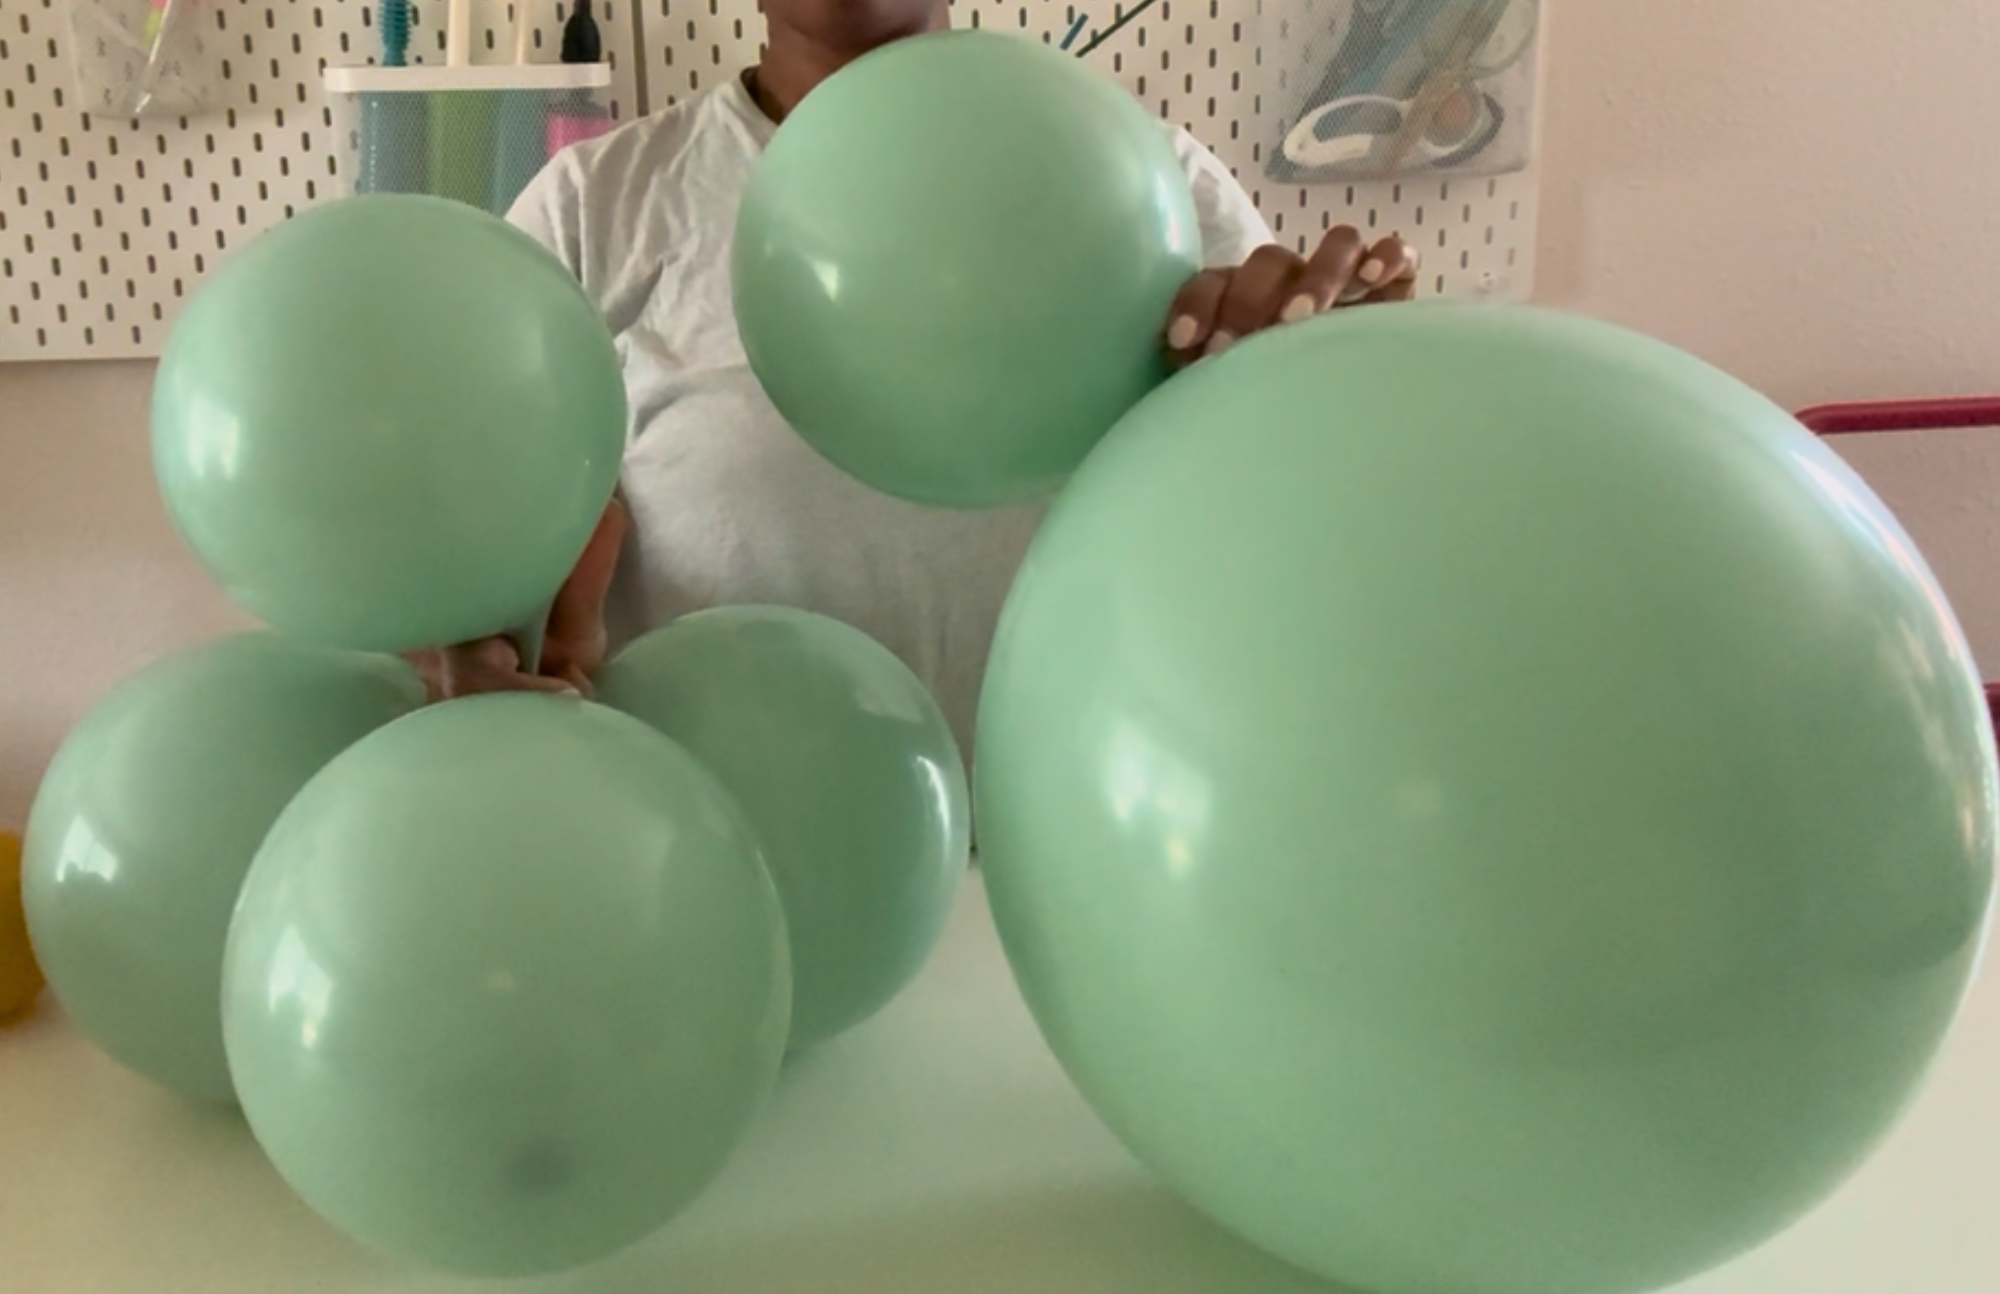
Nestle the Large Balloon
Grab your large balloon thats tied to your medium and gently wedge it into the center of your quad. It should sit snugly in place—like the statement piece it is.
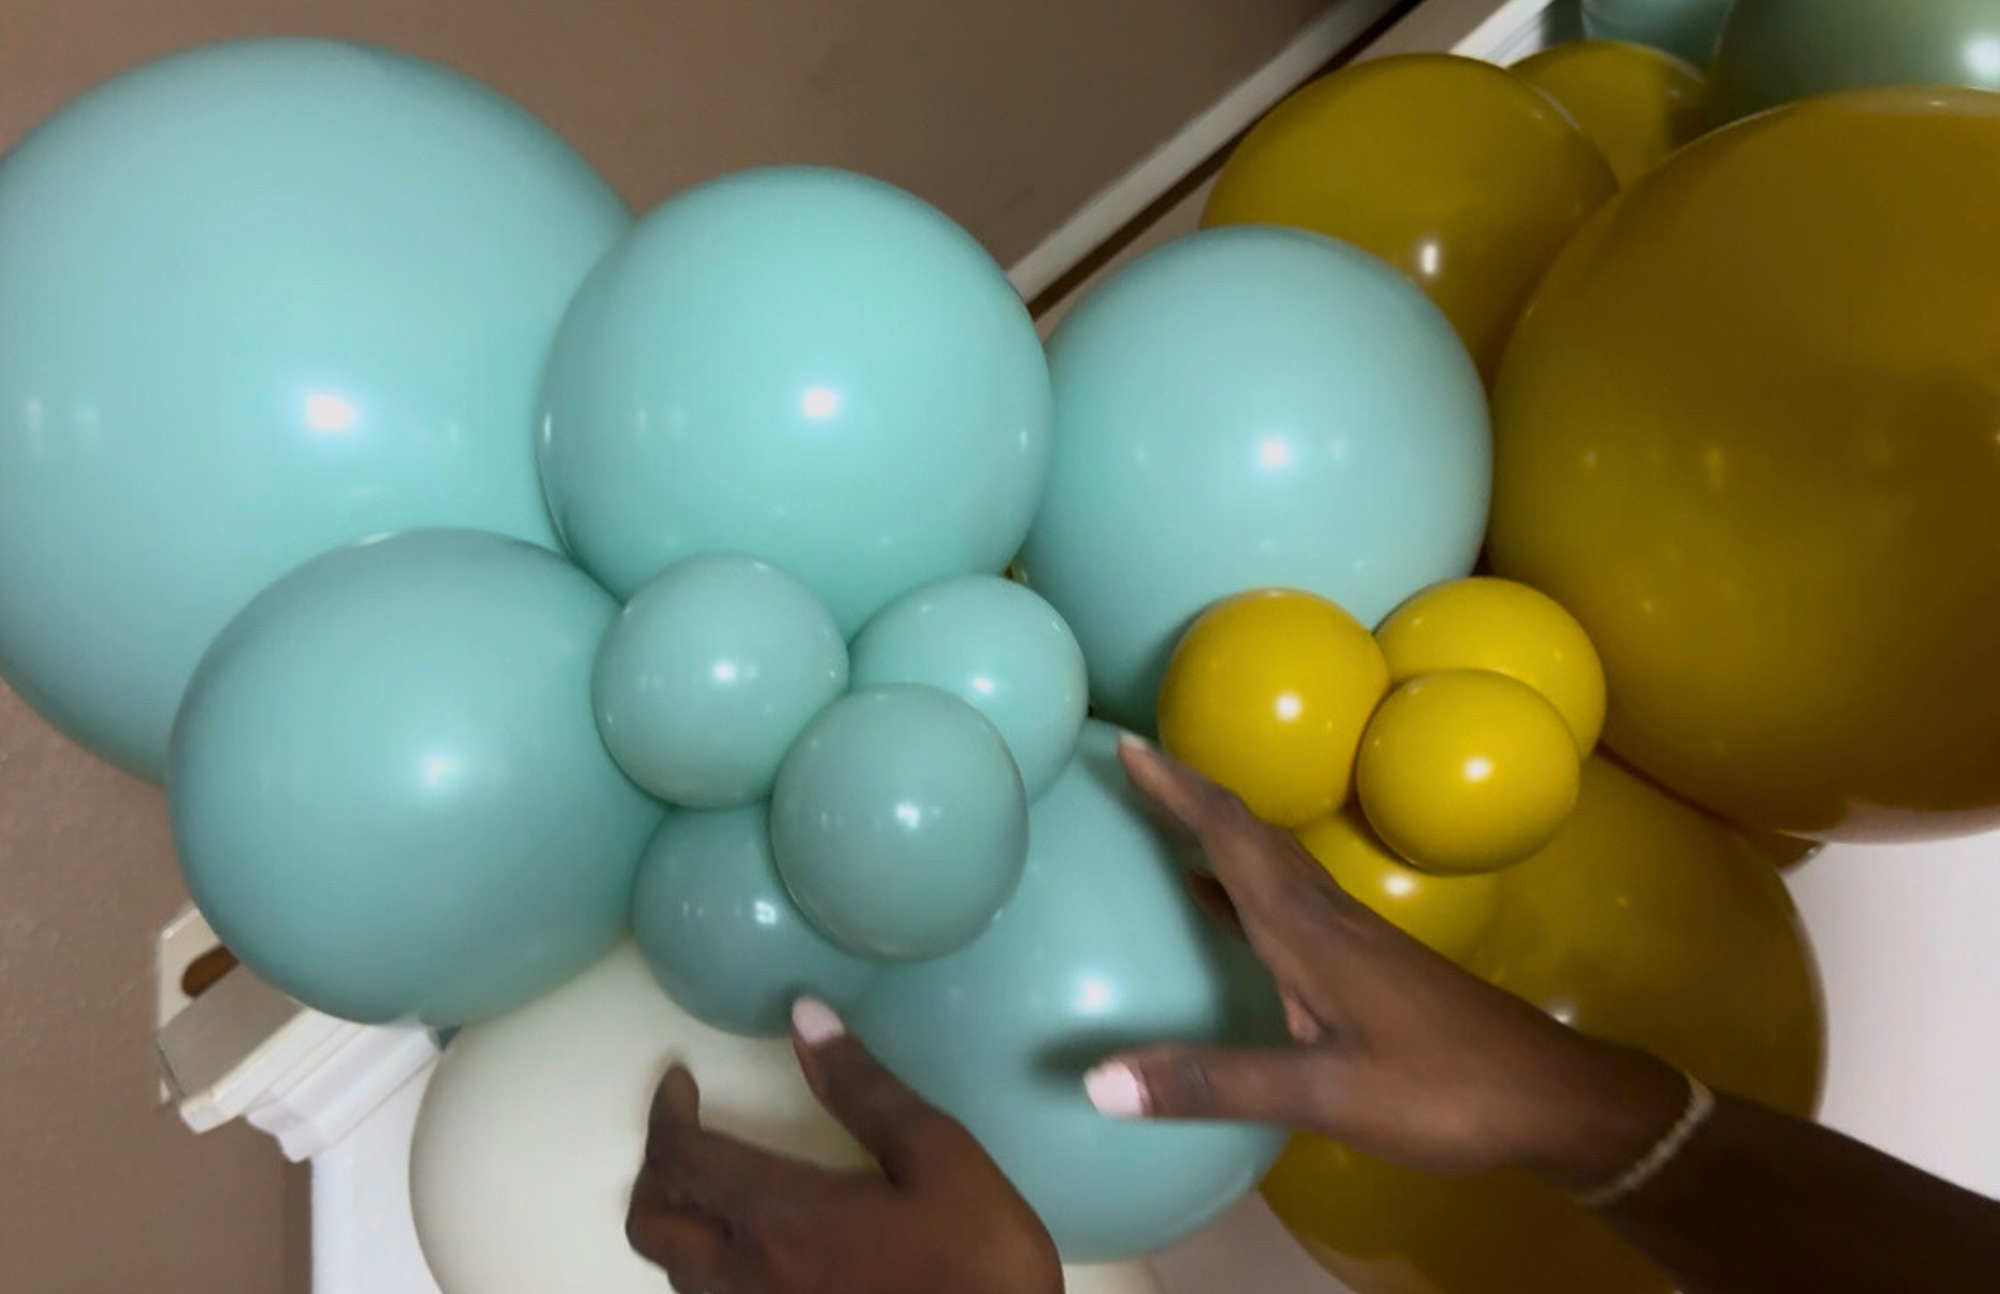
Adjust for Balance
Turn, tilt, and fluff your cluster until it feels balanced and visually full. You’re looking for an organic, “bubbly” shape—not too perfect, just perfectly fun.
STEP 6
Anchor
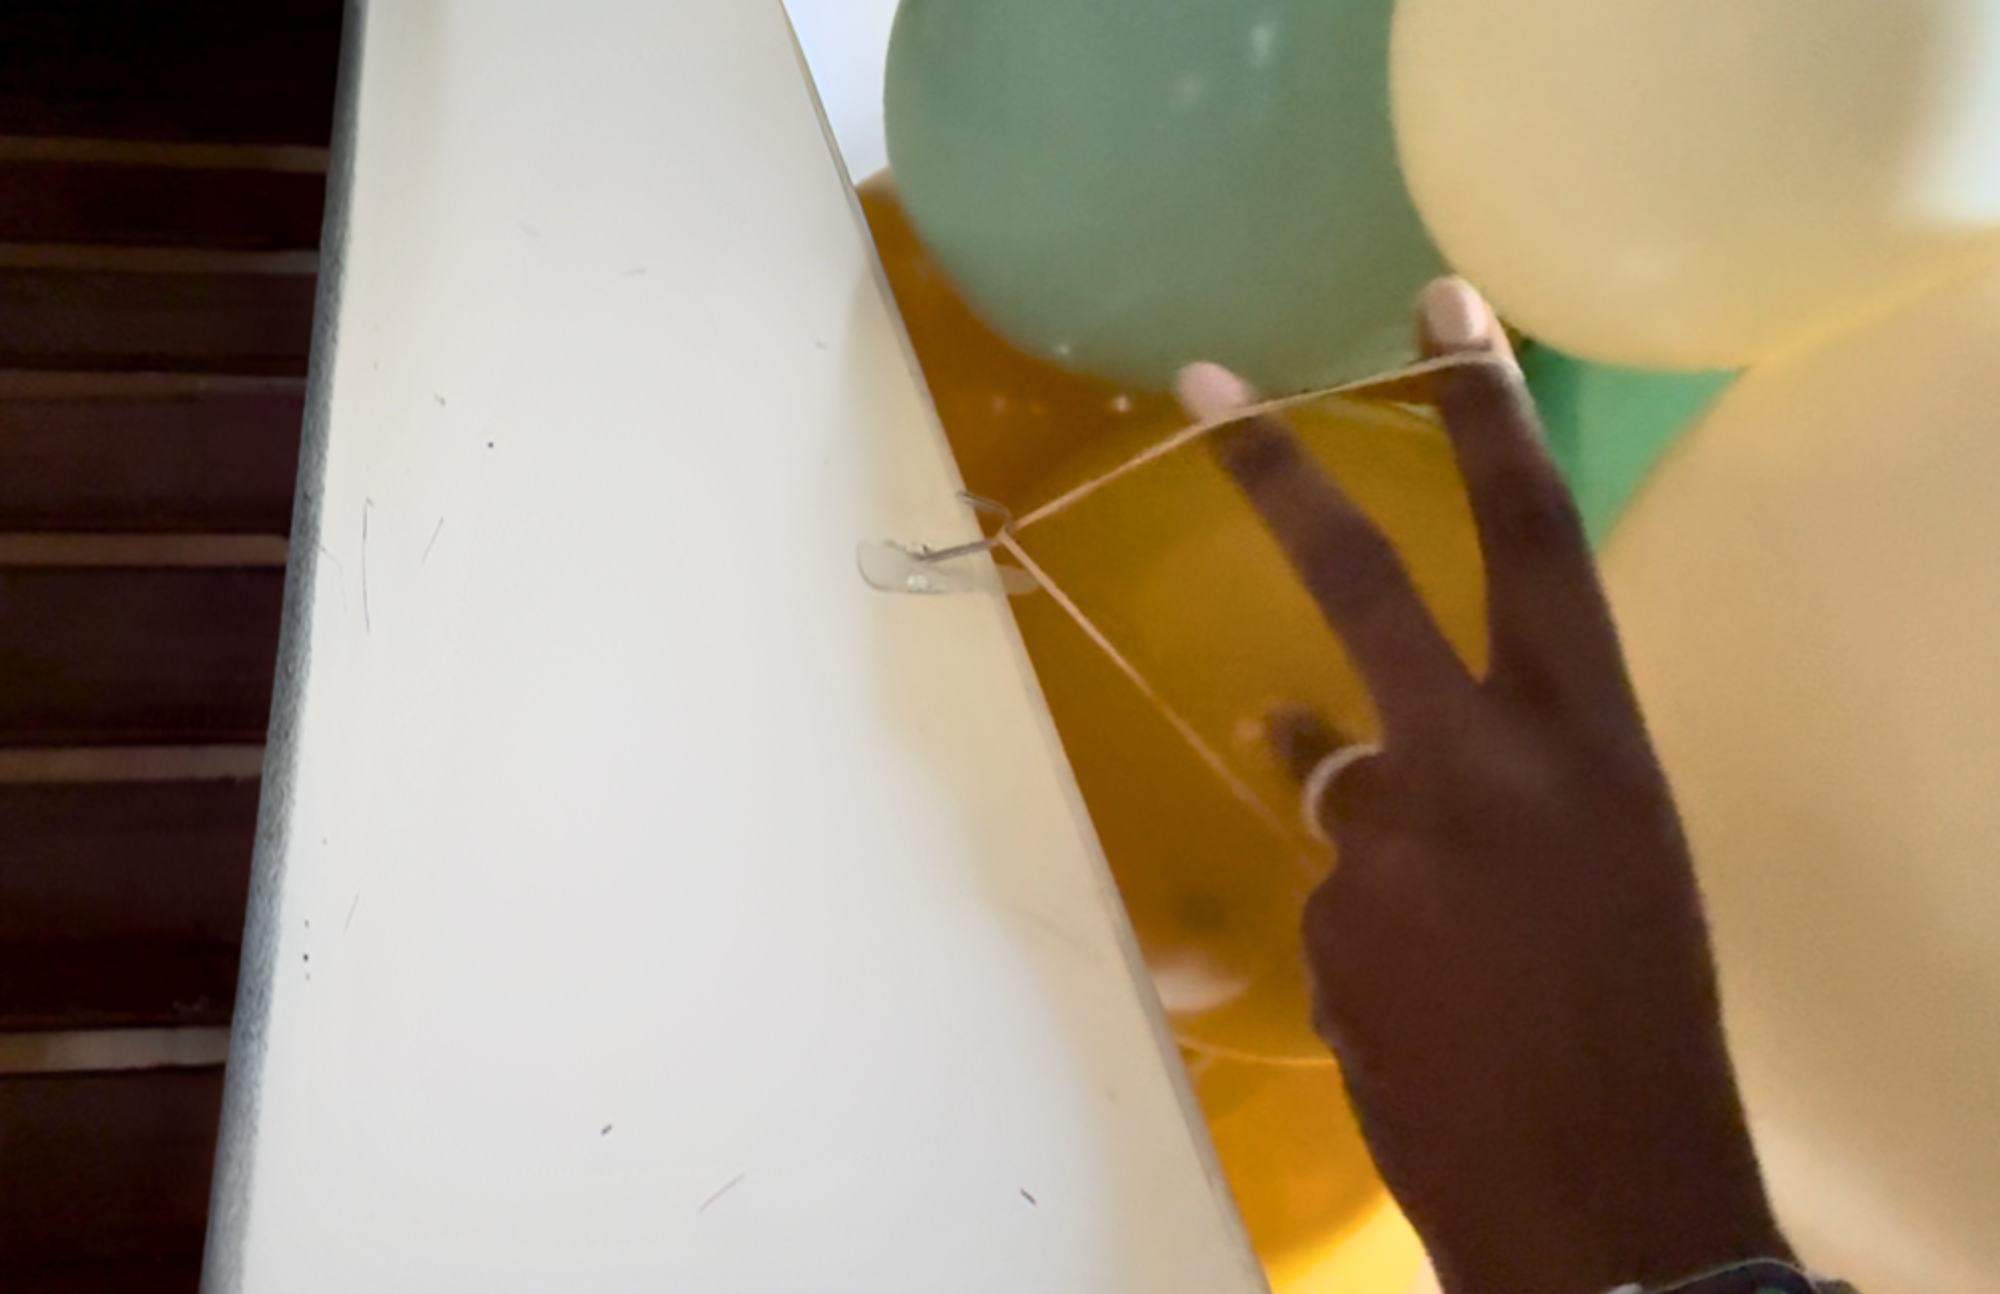
If you're anchoring to a banister or railing (already existing anchor point): Simply use the included stretchy long balloon to loop around the garland's centerline and around your anchor point. Tie in a knot.
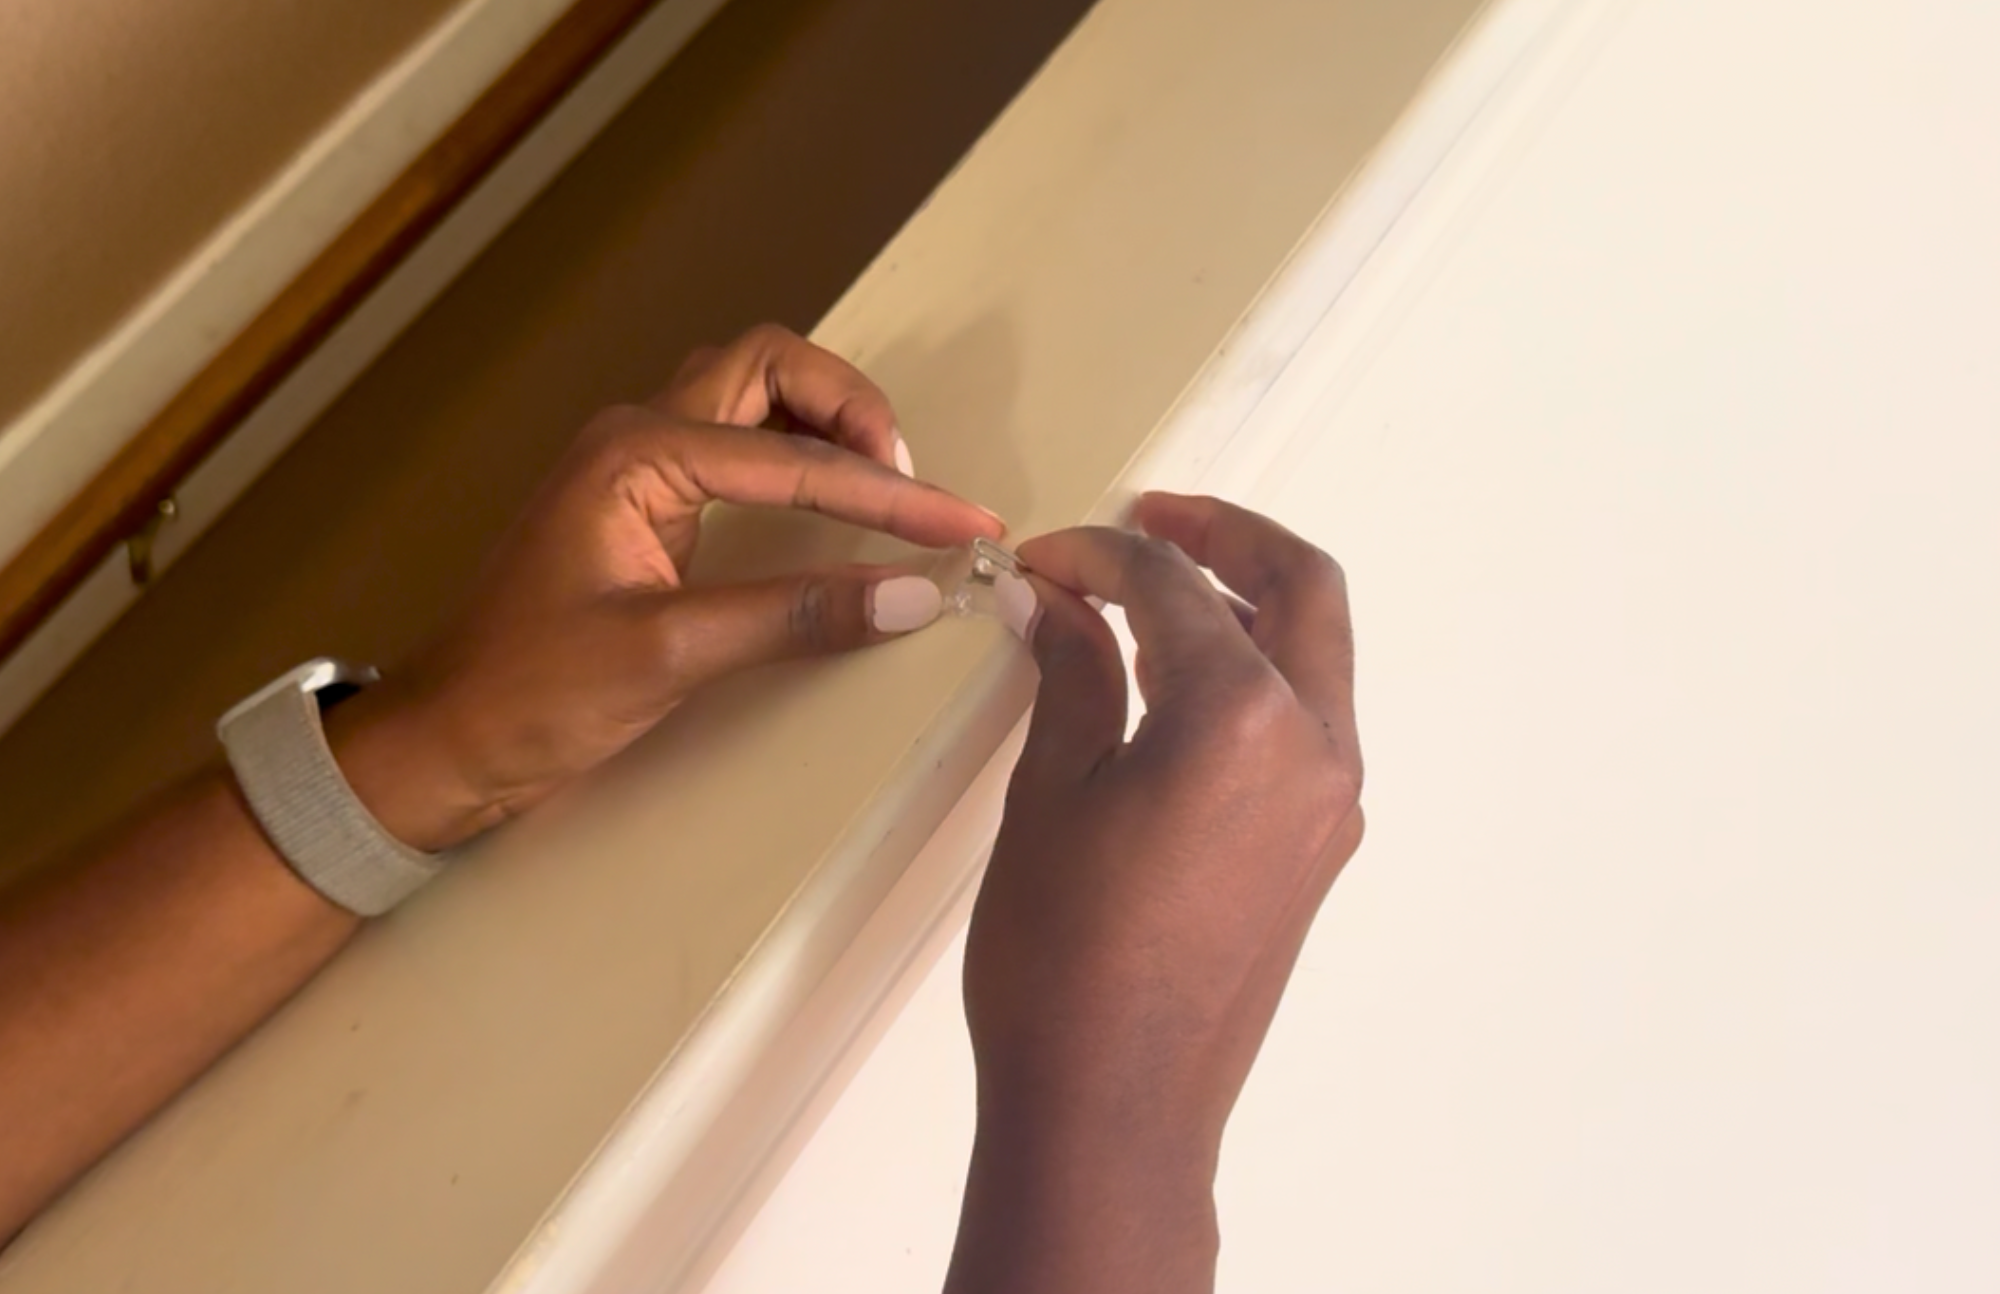
If you don't have an already established anchor point: Use the included command hooks with an attached rubber band to create an anchor point on a wall.
Make sure to hang the Command Hook 10 mins before you attach your garland to allow your command hook to properly adhere.
*Here is a video we love for Command Hook use and removal tips.*
STEP 7
Secure and Attach
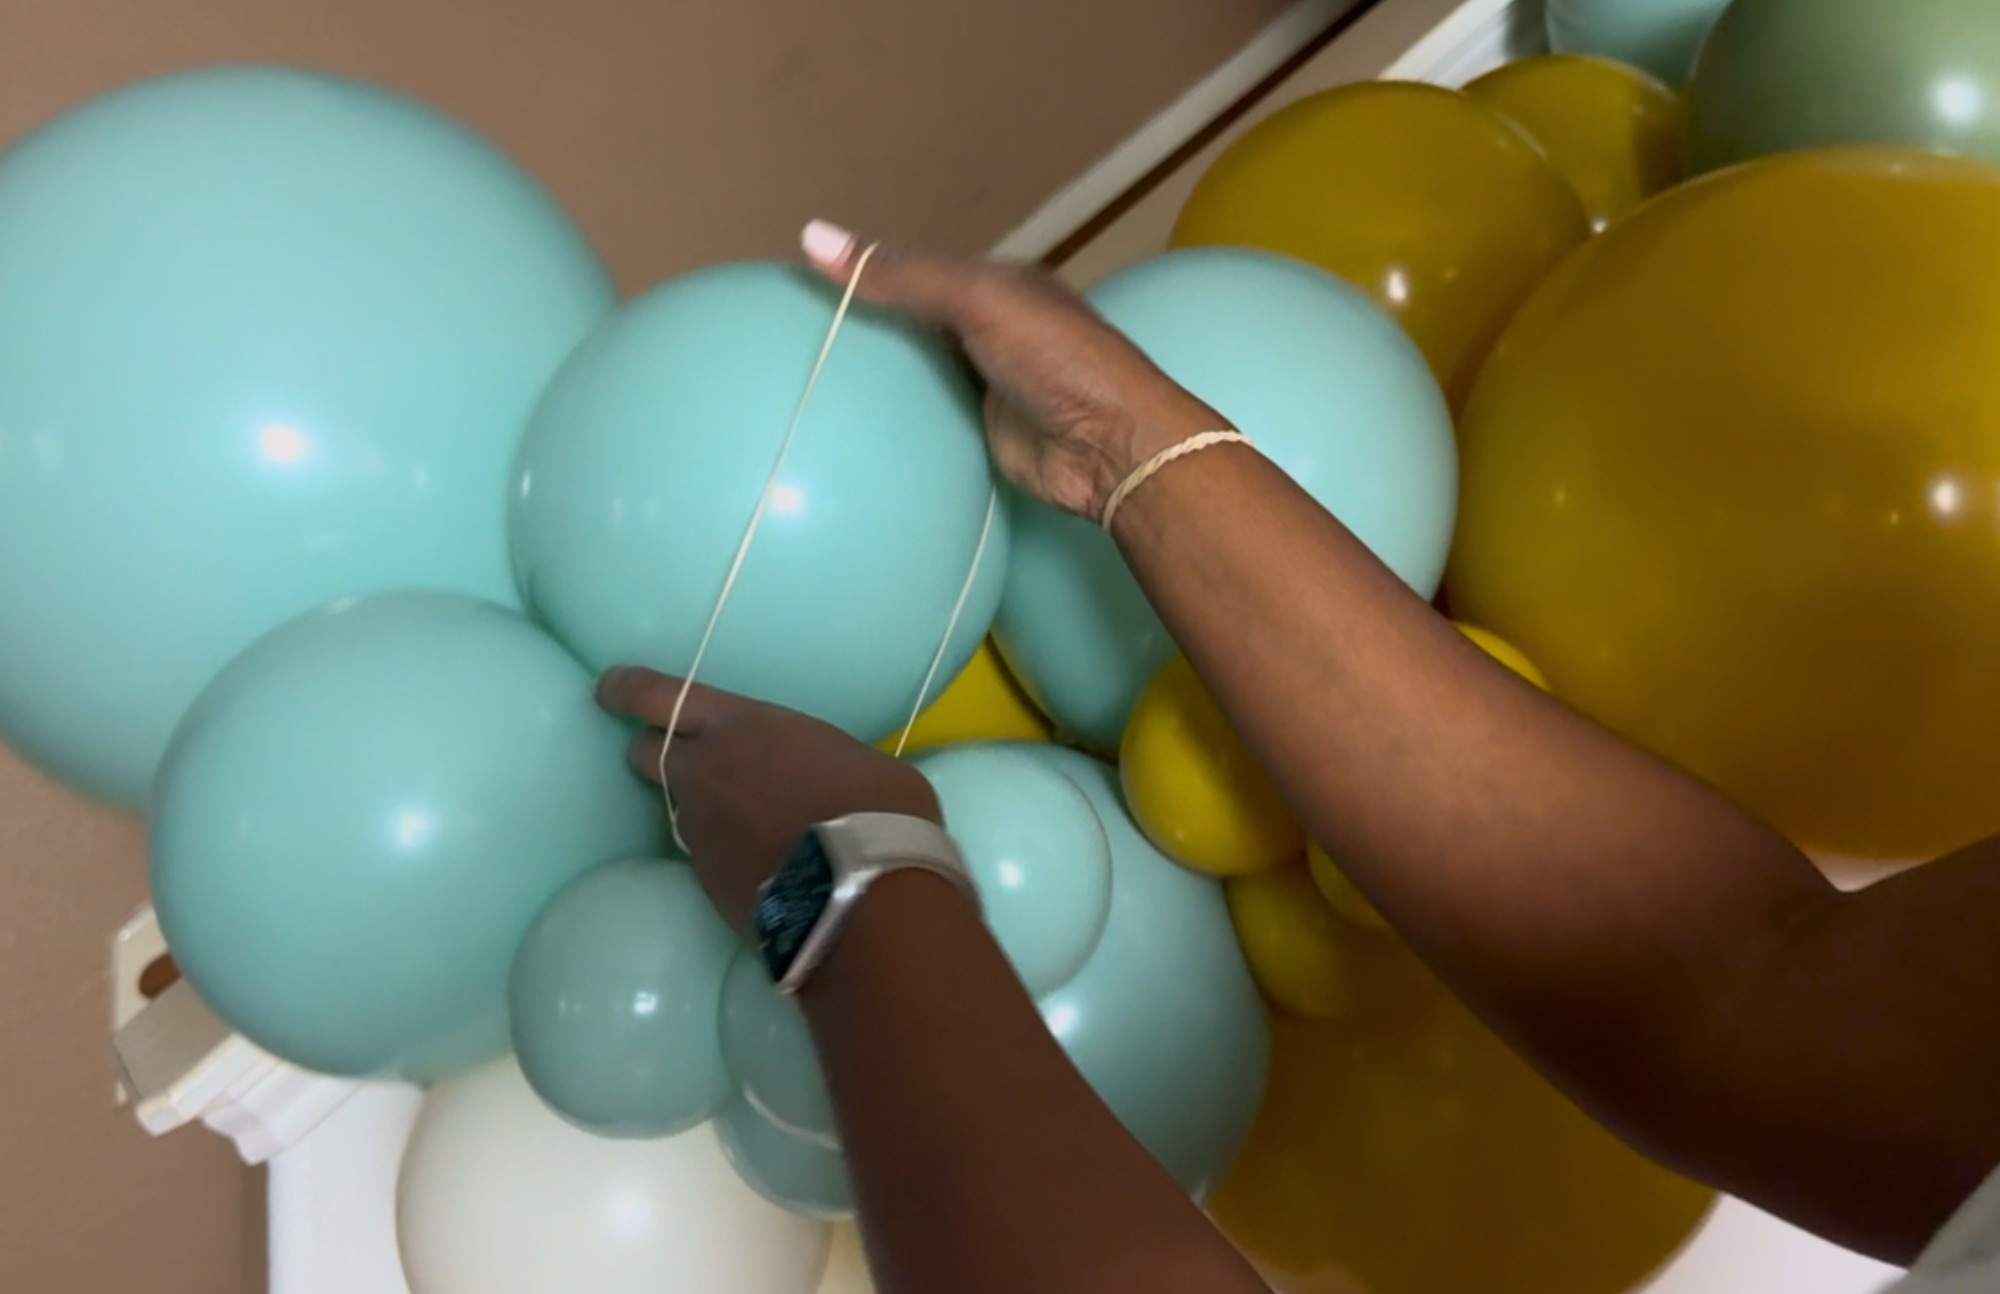
Stretch the balloon bracelet towards the closest balloon. Gently guide the balloon bracelet around the balloon and onto its base or neck.
Step 8
Add You Mini Clusters
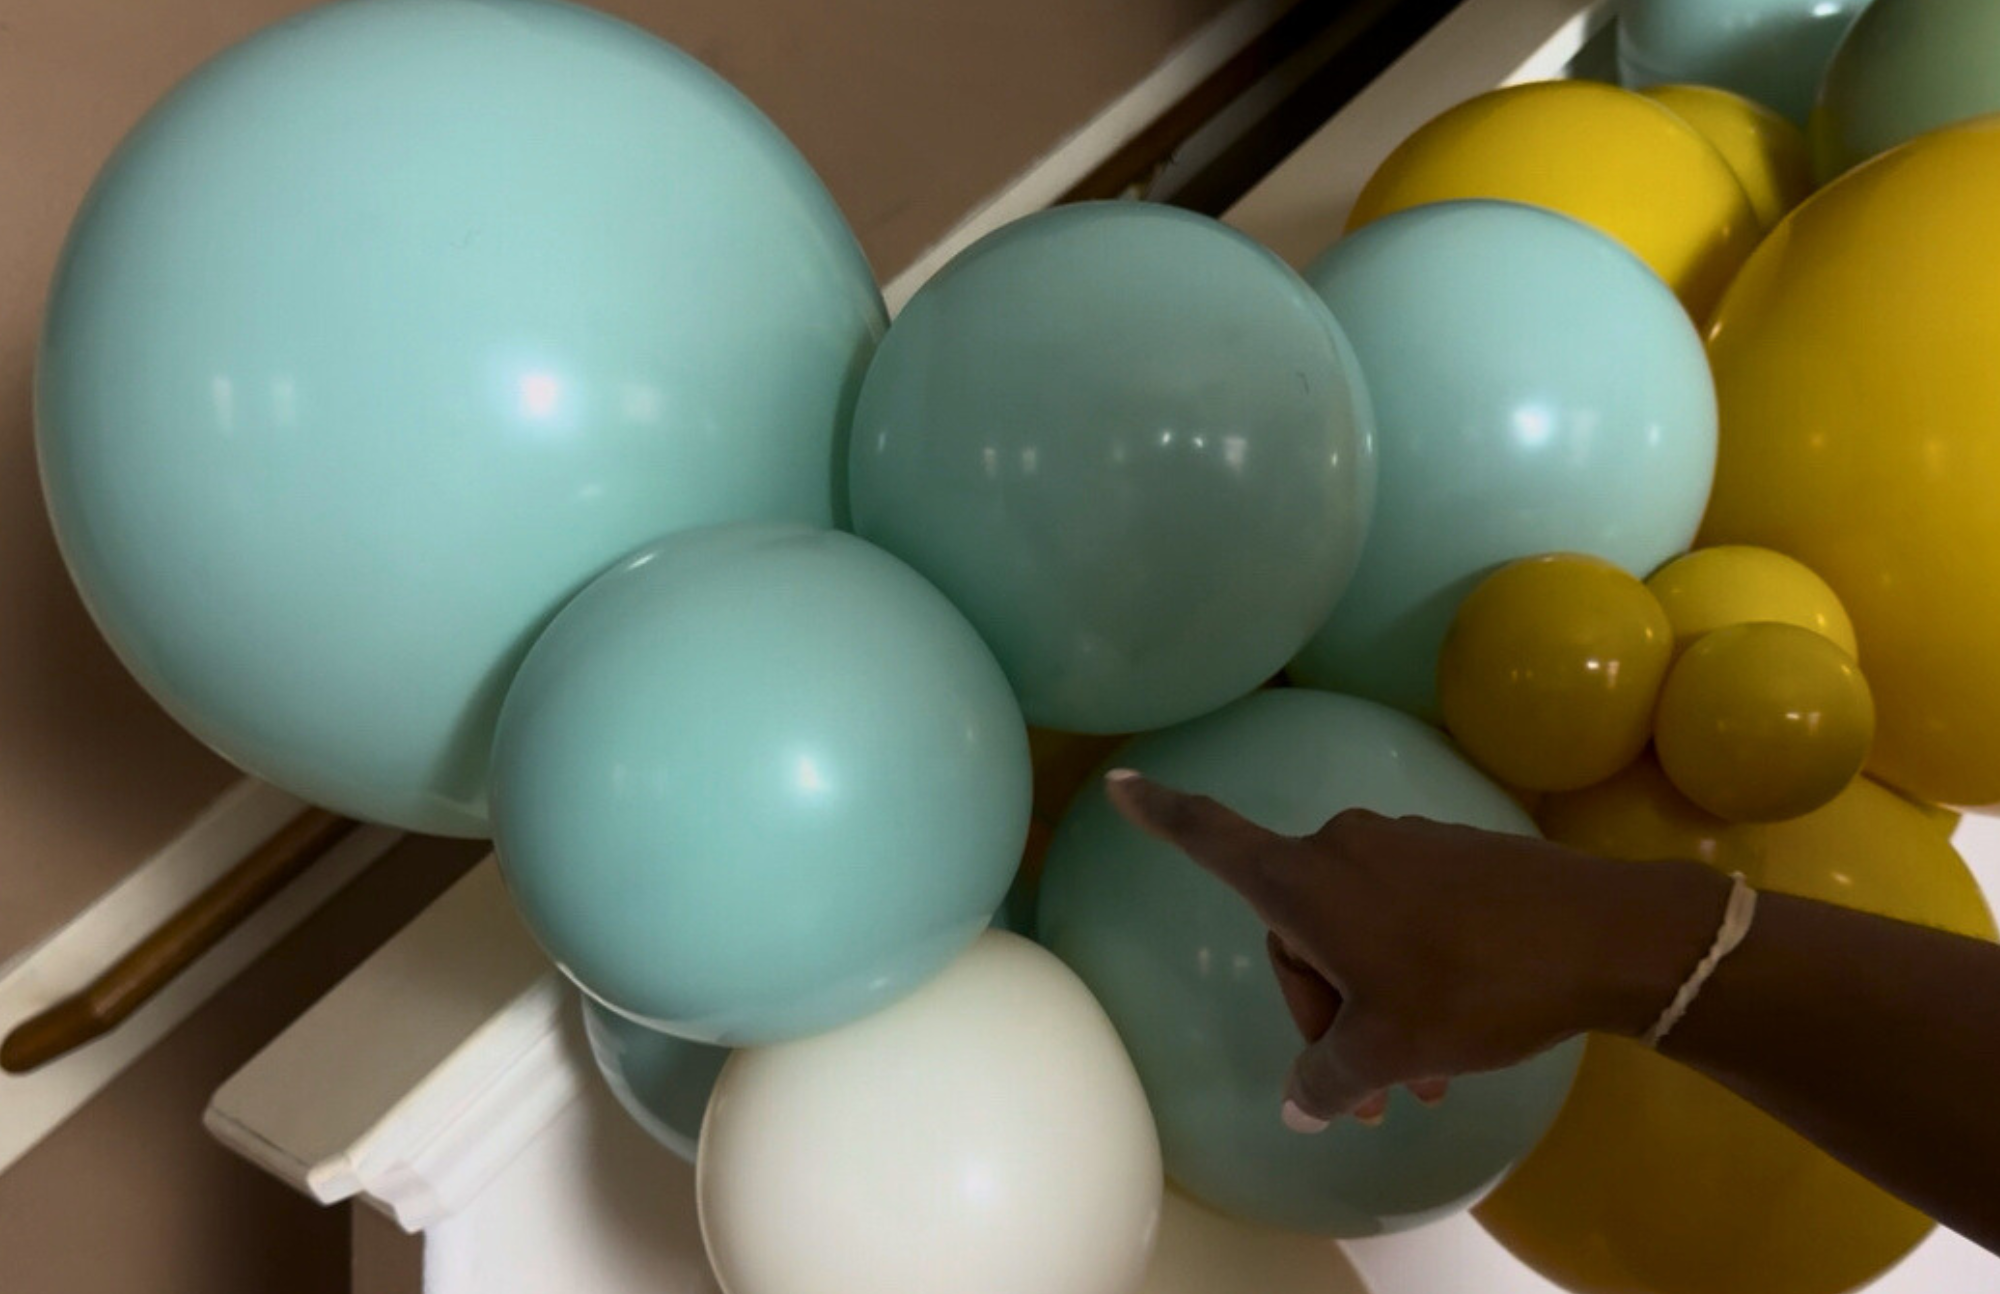
Spot the Gaps
Step back and look at your garland base. See those open spots between larger balloons? That’s where your mini clusters come in to shine.
Tuck
Grab a mini cluster, stretch a rubber band around it, and gently tuck it into a gap.
Test
Rotate it until it feels snug and looks balanced. This step is all about zhuzhing things up.
STEP 9
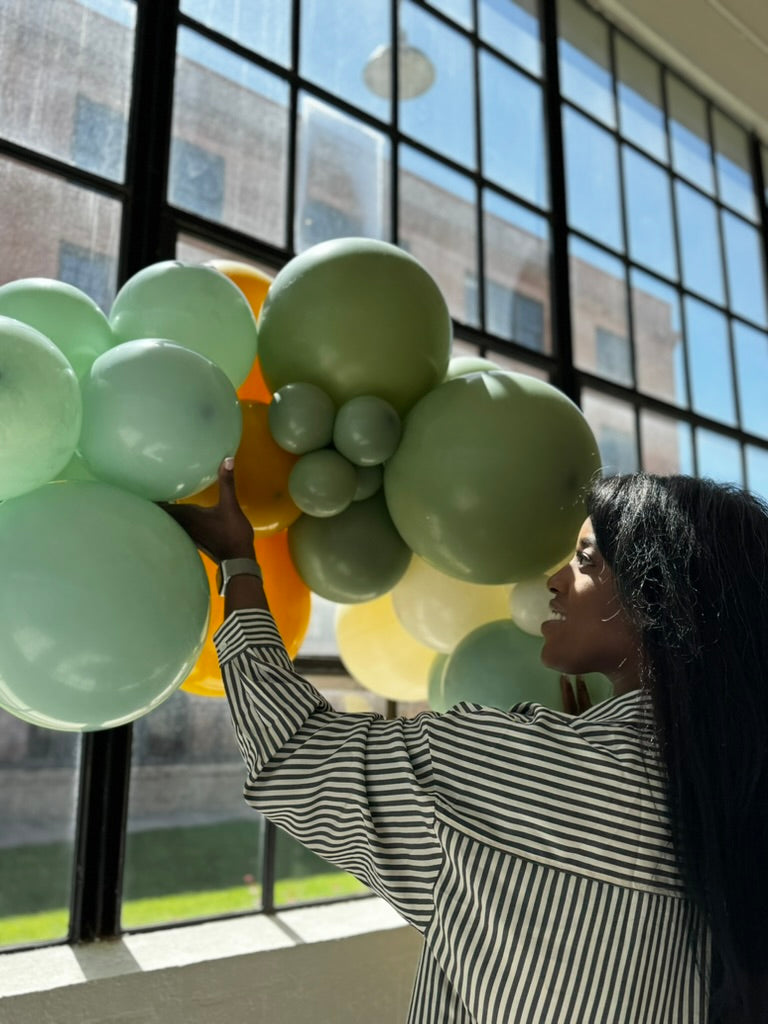
Fluff and Finish
Most of the mini balloons can be easily repositioned, so make sure they're towards the front and have fun moving them slightly to achieve the look you like best.